Nails
It's no secret I'm a big fan of having my nails done and this post contains all my favorites over 2 decades of tips and tricks. Come check it out!
For as long as I can remember I’ve loved having my nails painted. Whether I do it myself or by a salon its proven time and time again to me that it’s something I do for myself. I think it’s really import to remember self care especially as a mom. Maybe its a girls night out, heading to a gym class, lunch with your friends, date night, shopping or even just finding time to read your favorite book or catch up on a good show but it’s import to take time for yourself when you can. As silly as it may be, for me one of my biggest things is having my nails done. I just feel better! ;) Follow along with me below for ALL the best tips and tricks on GEL NAILS & NAIL DIP. I promise, you won’t regret it!

Having my own nail supplies at home has been a huge life savor! I always have good intentions of heading to the nail salon but life catches up and usually I find myself late at night after the kids have gone to bed painting my nails. Sometimes it’s packing late for a trip the next day but I ran out of time to get my nails done so being able to quickly do them at home for a fraction of the cost is what has worked best for me. I added these products to my collection over time and in the end will save lots by doing it at home. Don’t get me wrong, a salon nail visit still happens often because its enjoyable for me and I love to support our local businesses but if I can pop up on my favorite show, catch up on my friends Marco Polos or even pour my favorite drink in my favorite water bottle then I’m set!
Follow along below for nail dip step by step photos and instructions…
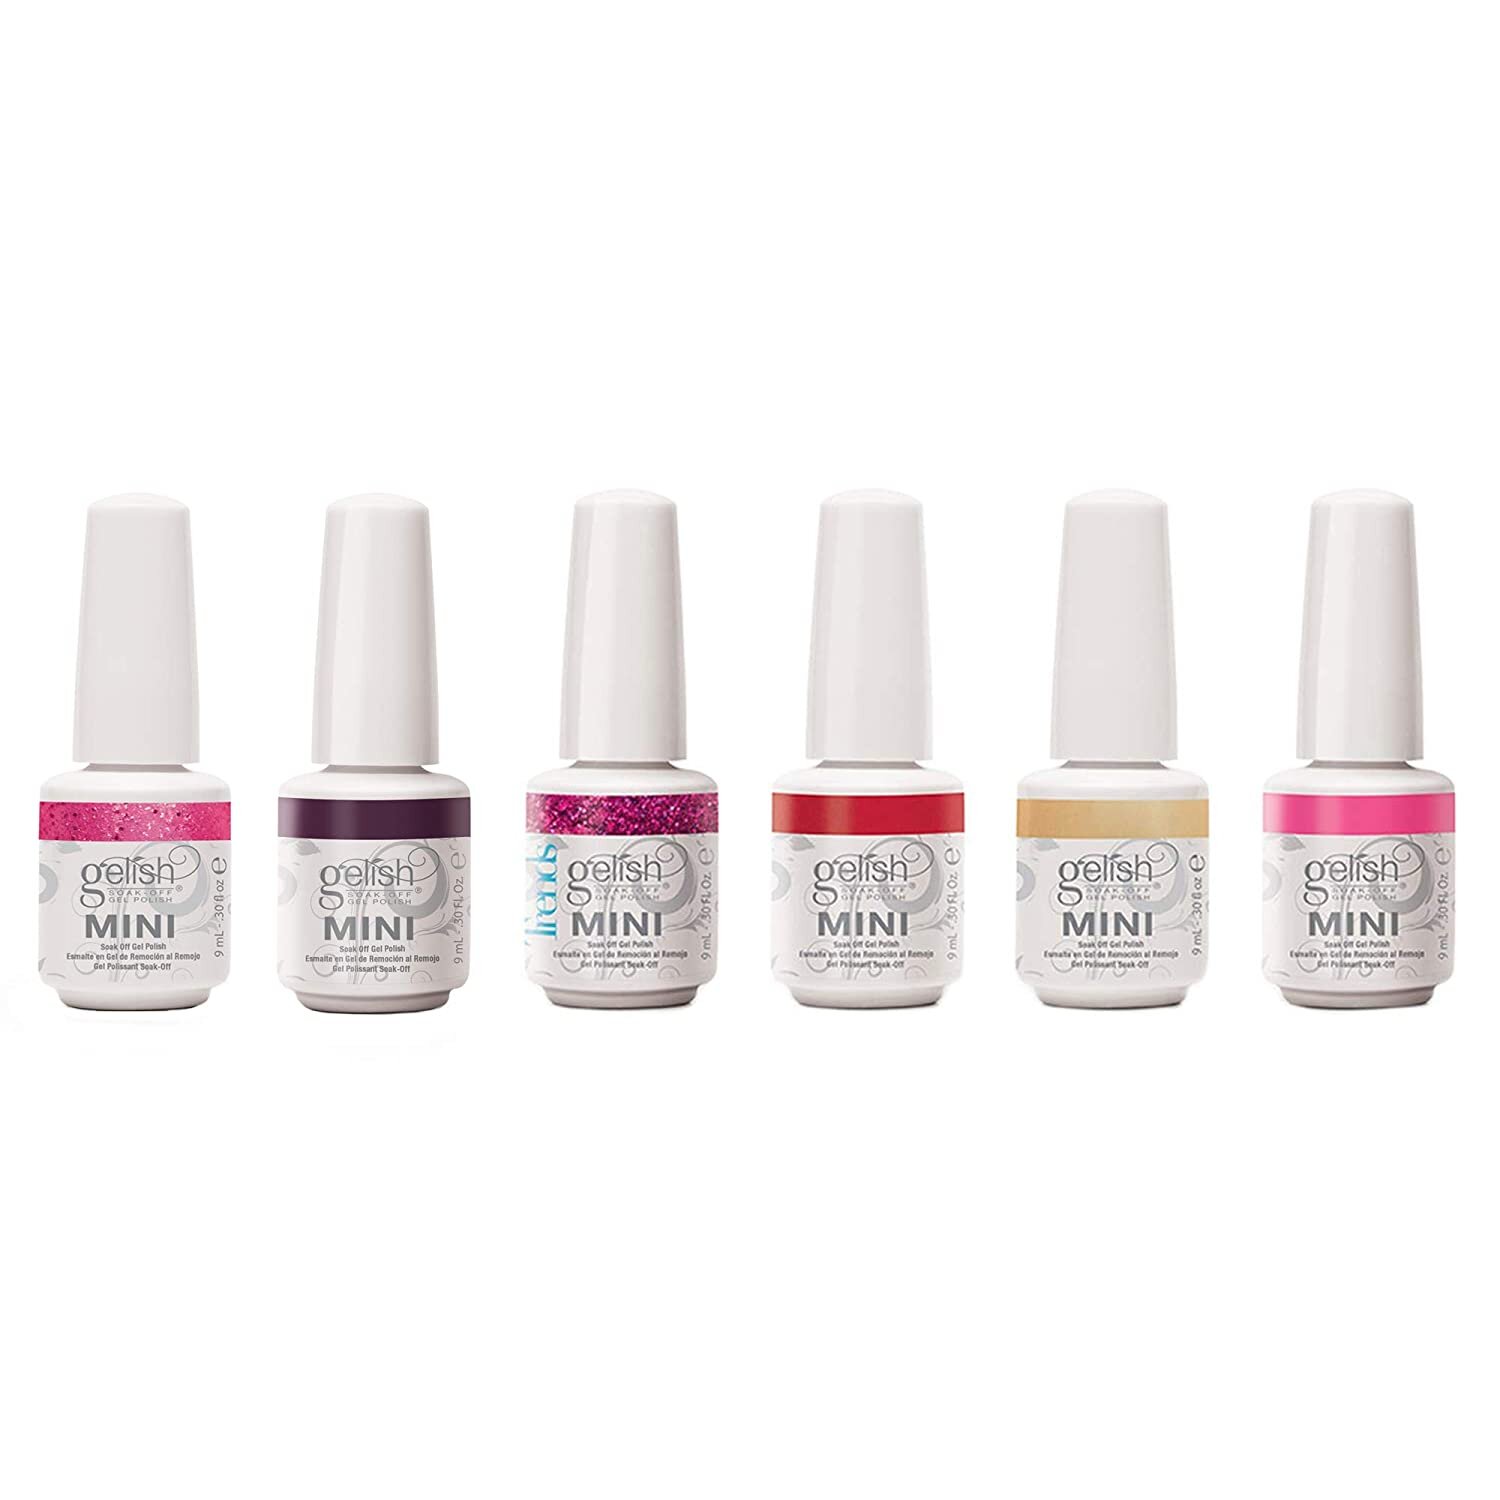
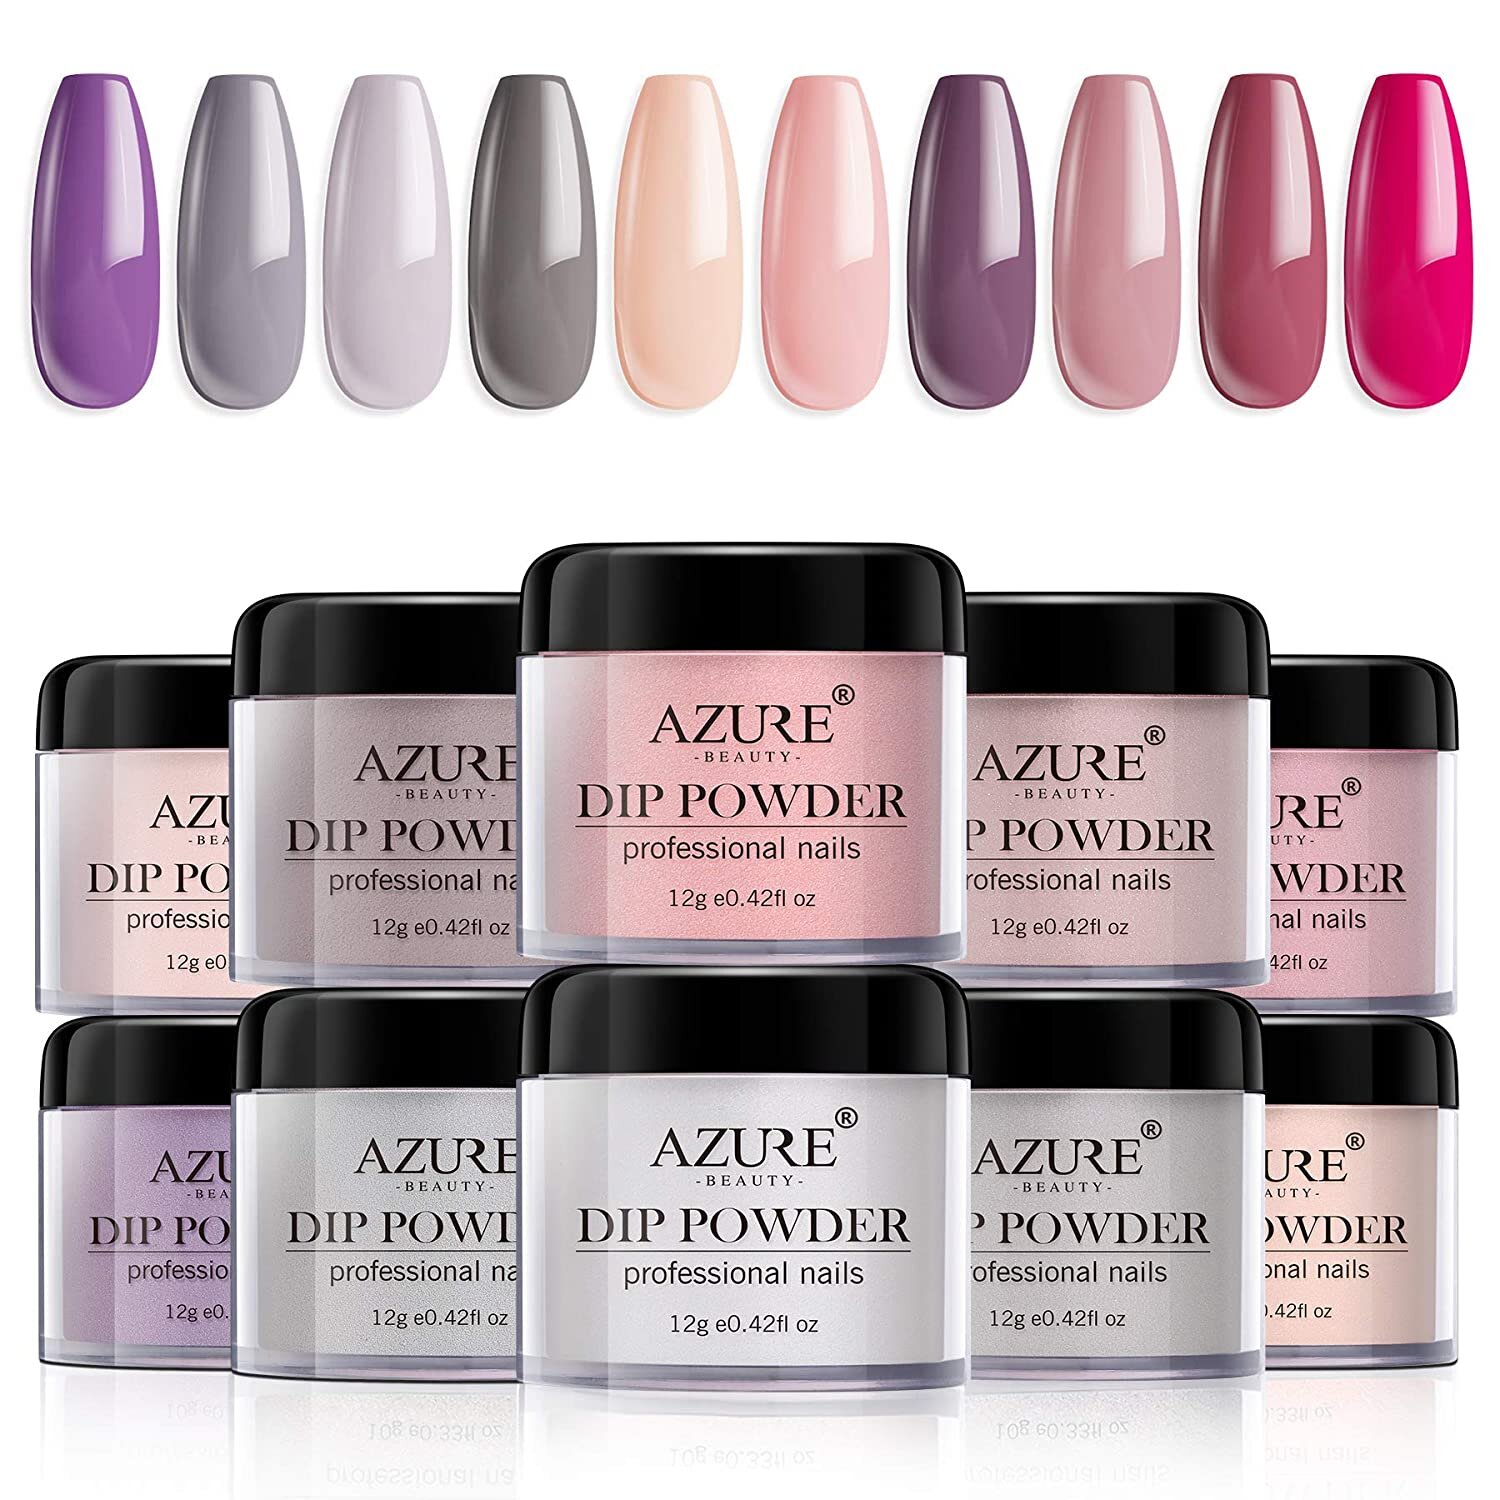
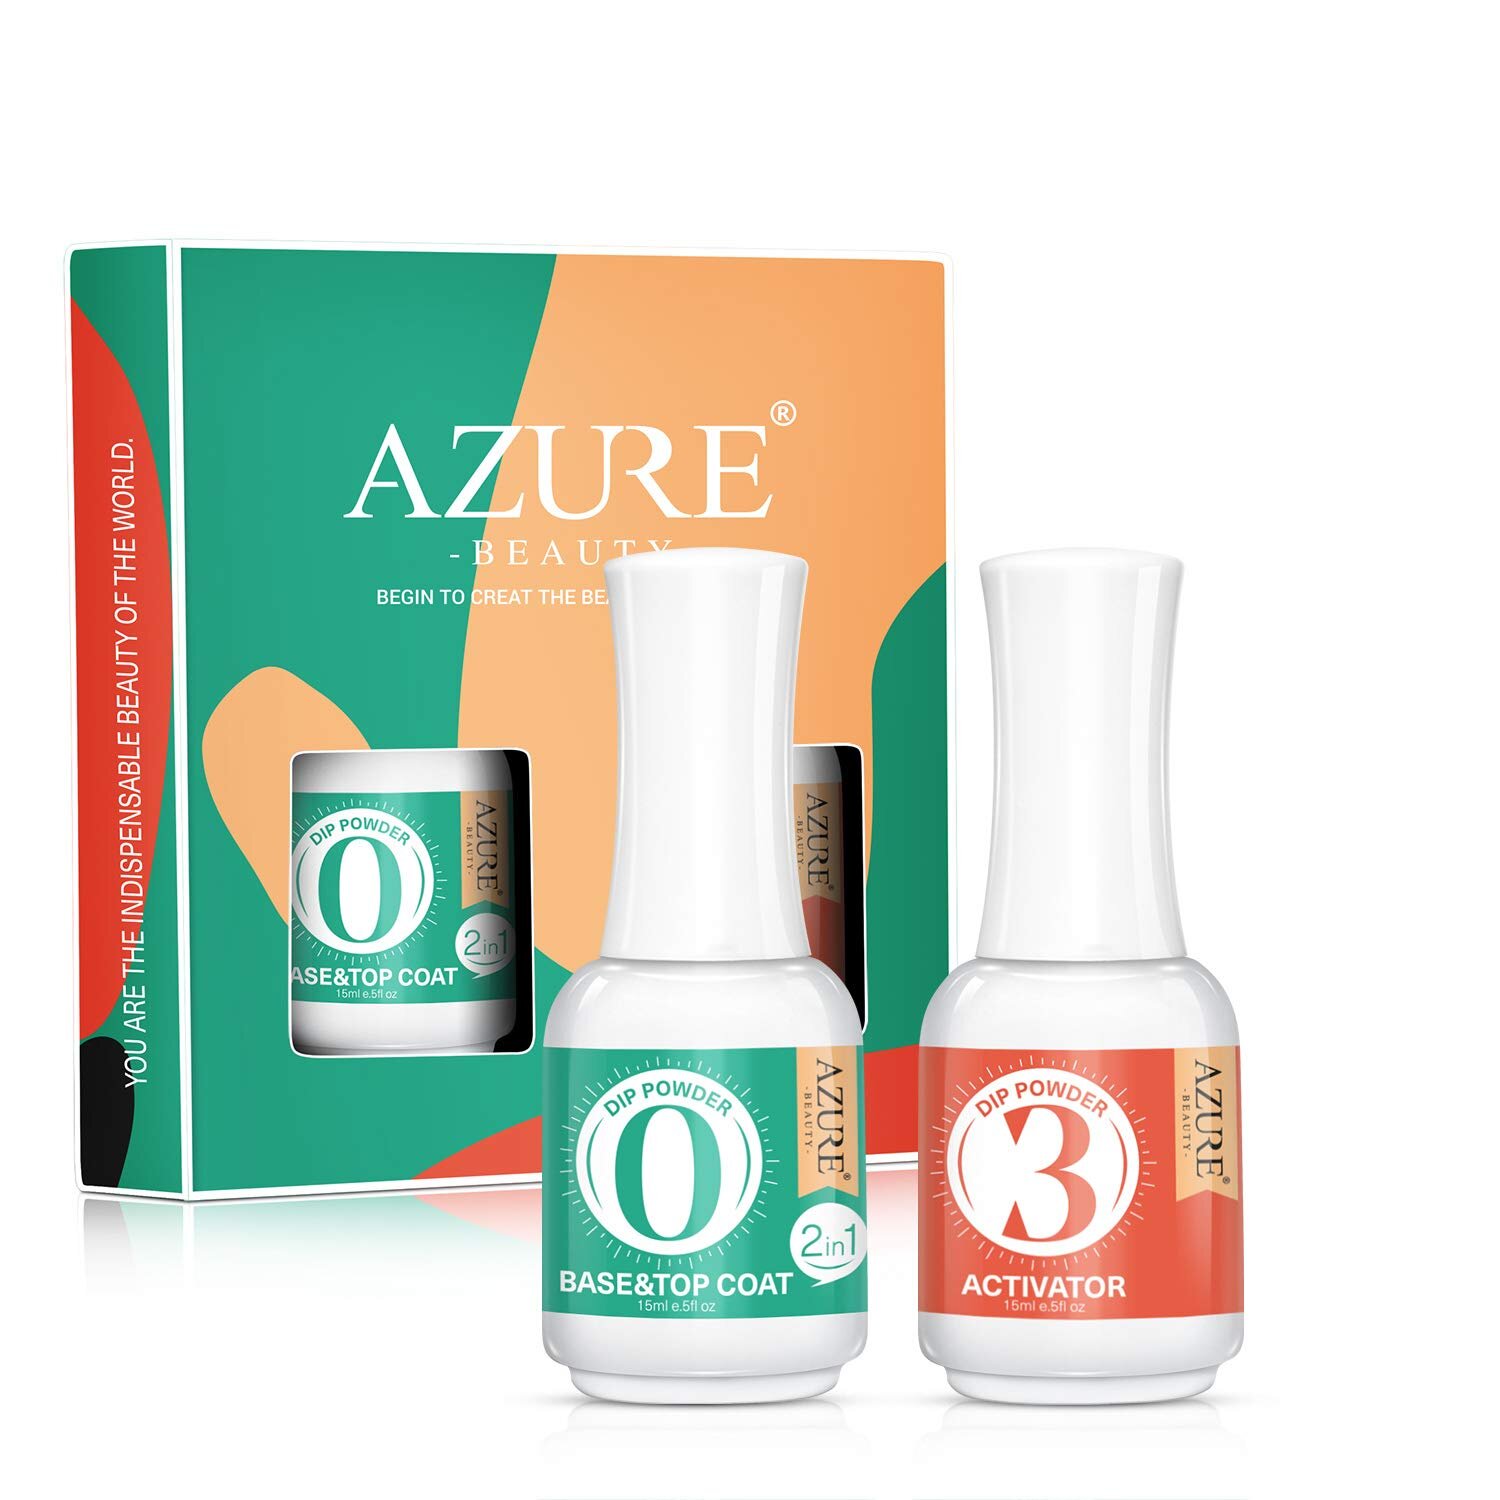
Nail Dip Powder
Nail dip is quickly becoming well known and very popular! I wasn’t sure how to exactly achieve this on my own but after many attempts and visits to a salon I’ve finally narrowed it down to a really good brand and one that I think provides excellent colors and quality. Nail dip is basically a cross between acrylic nails and gel nails. It’s SUPER EASY to apply but it lasts longer for me than gel nails. It also has a stronger holding product and feel more similar to acrylic but yet thin like gel. WIN WIN! Make sure when you buy your nail dip powders you double check if your colors or kit comes with the applicator polishes. Mine did not and I had to buy mine separate. I preferred it this way because a lot of the kits out there that come with the polish didn’t have great colors and I wanted to be able to start with a good collection of colors.
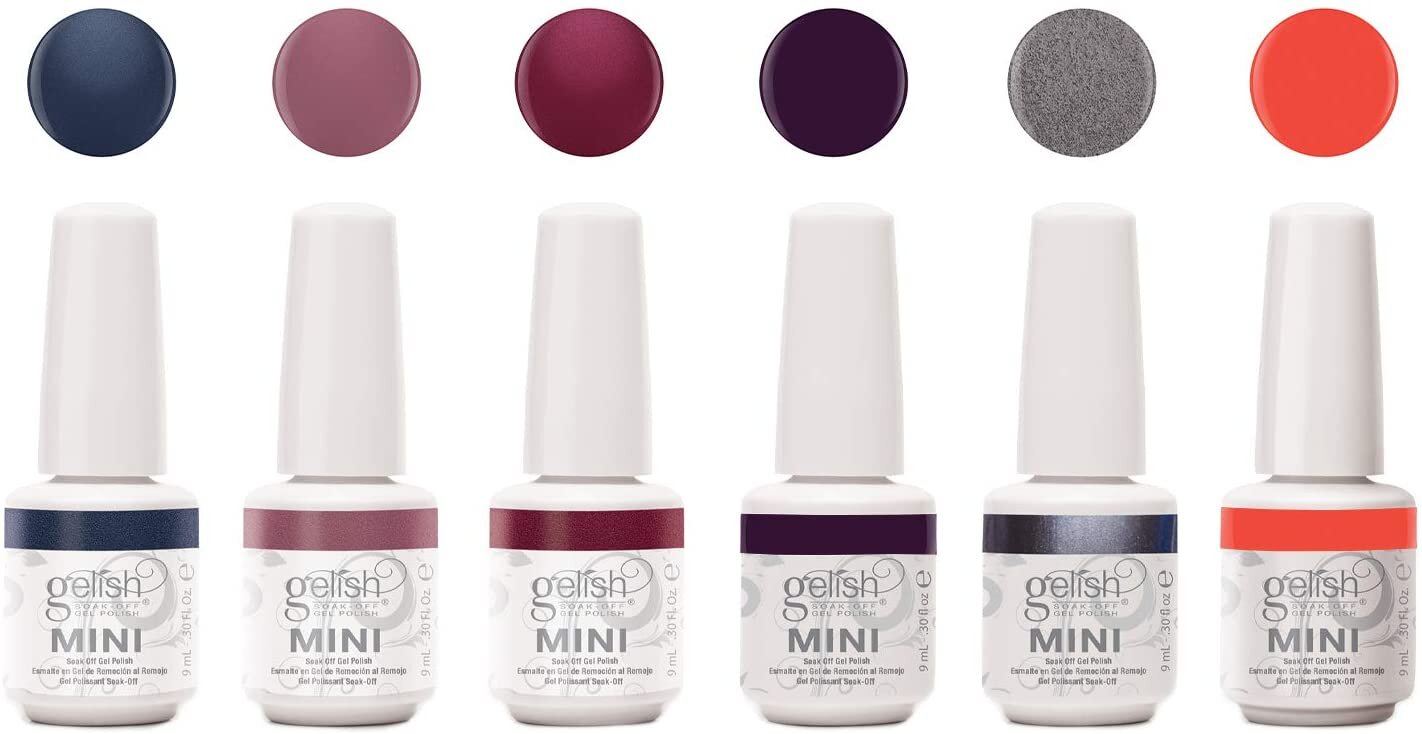
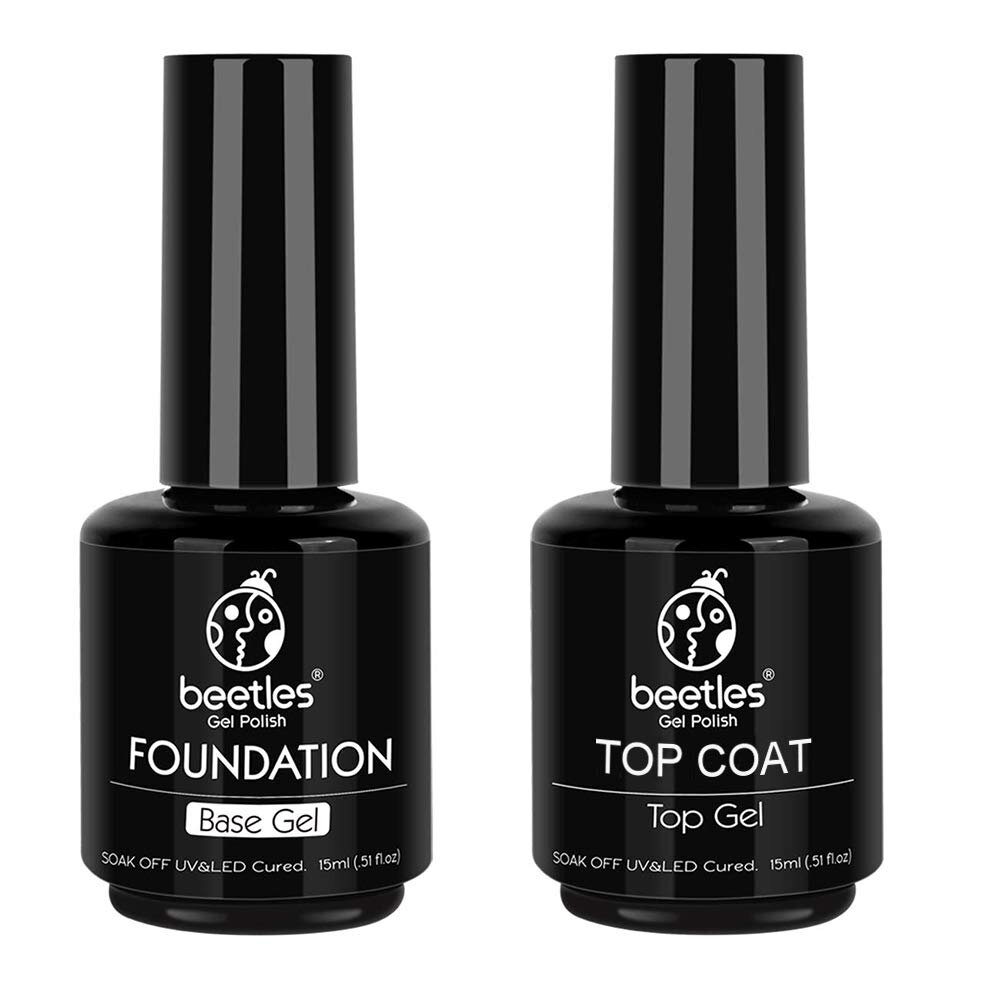
Gel Nails
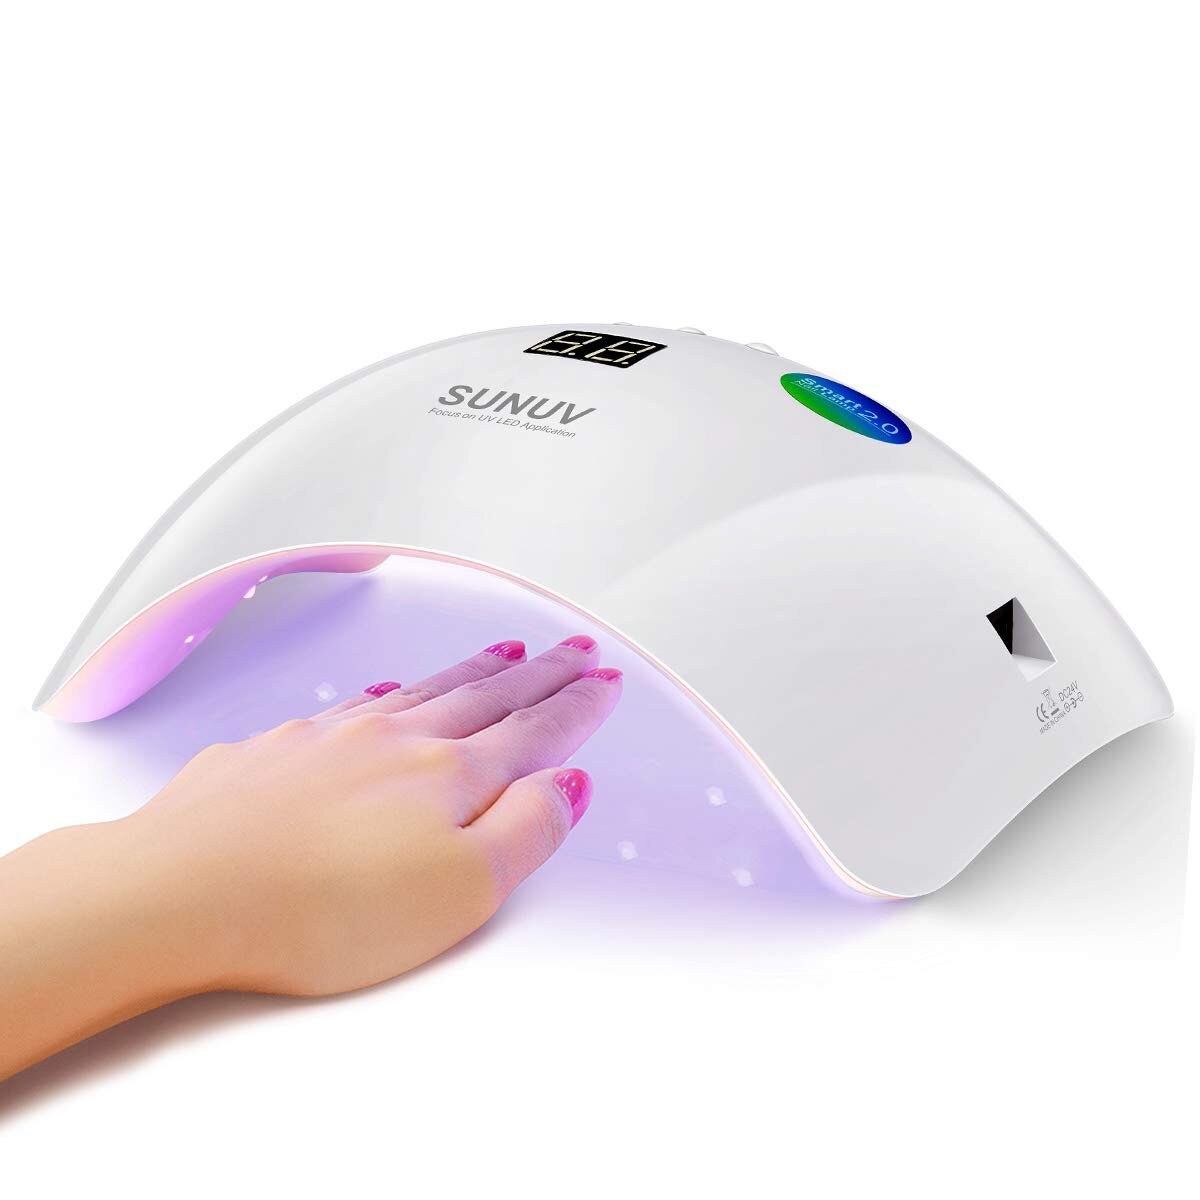
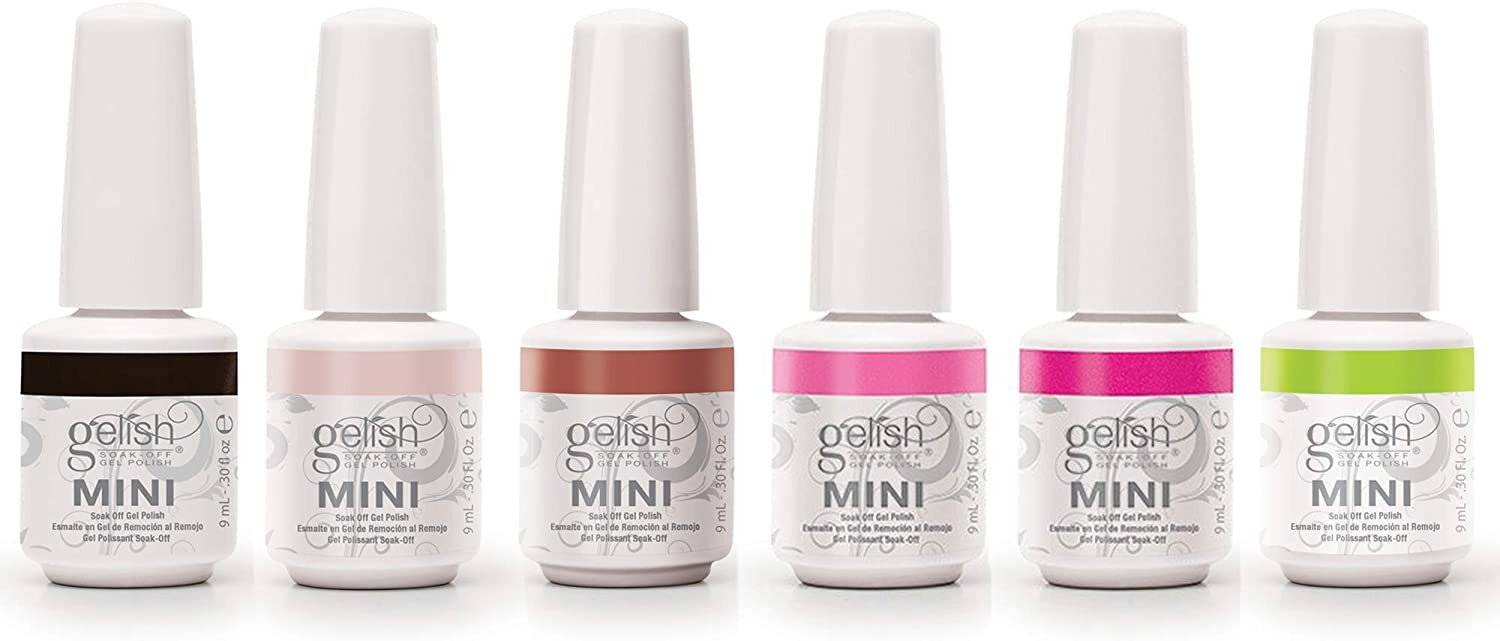
Gel nails is the very fist thing I started with and Gelish is one of the best brands out there. They always have fun new colors popping up and they remain affordable but their quality is great! I often check the sales at Sally’s when their nail polish is priced at a good deal and tend to grab several new colors. A good way to stock up your collection over time for sure! I know a lot of people mix brands and even top/base coats but for me I’ve found that sticking with a brand is ideal. However, I have branched out and found the very best NO WIPE top coat for you when doing gel nails. If you ever want to add a chrome powder or mermaid powder on top then you have to have a no wipe top coat or it won’t work properly. Trust me, I’ve learned from my mistakes on this one but the mermaid effect or unicorn effect is darling, especially during the summer months.

Apply one coat of base/top coat

Continue this process until you have done each nail

Quickly dip into color powder

Apply one coat of the applicator polish

Tools, Tips & Tricks:
Nail drill
This is a newly purchased item for me and I’M OBSESSED! It’s much quicker and seems to prep my nails better therefore the polish sticks better and last longer.
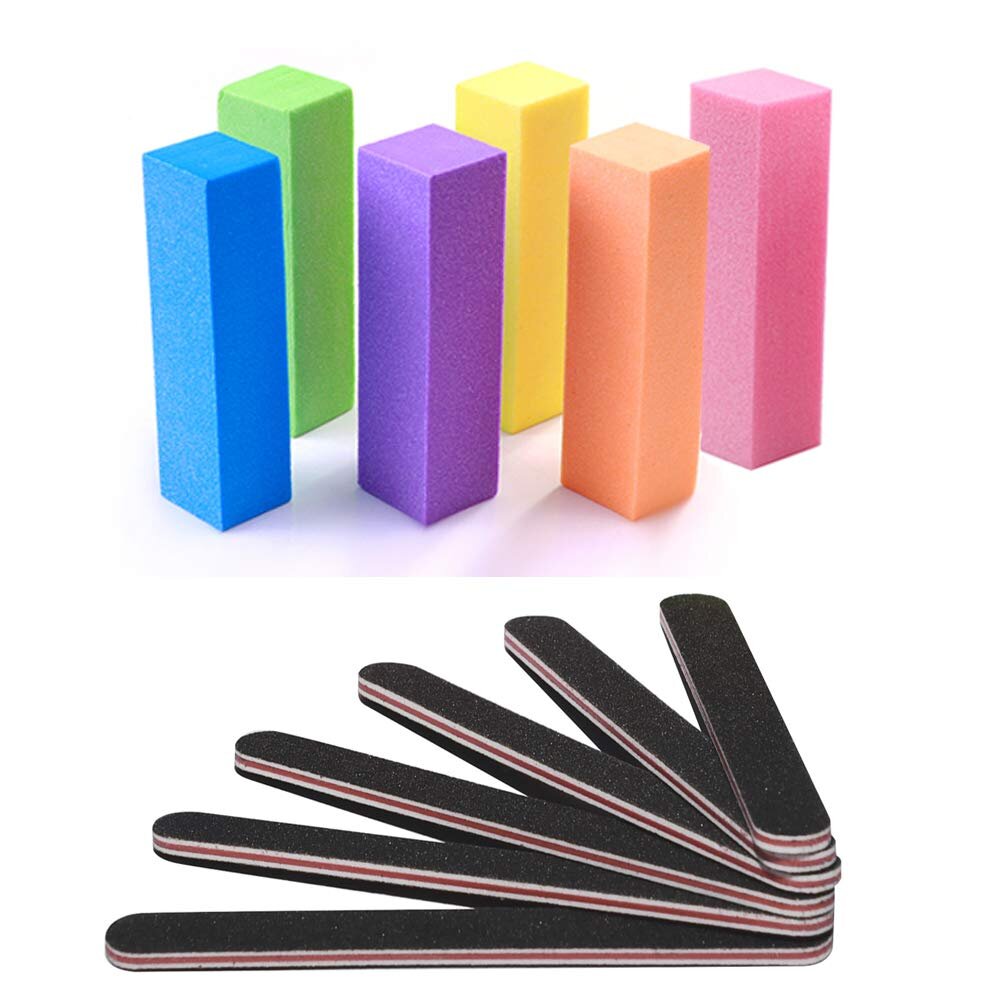
Nail files/buffers
Make sure to shape your nails and even touch up the nails after a good gel top coat. Often times mine need a little smoothing. BUFFERS are also a MUST in the process of dip powders. You actually have to smooth out your nail/powder before applying the top applicator coat.
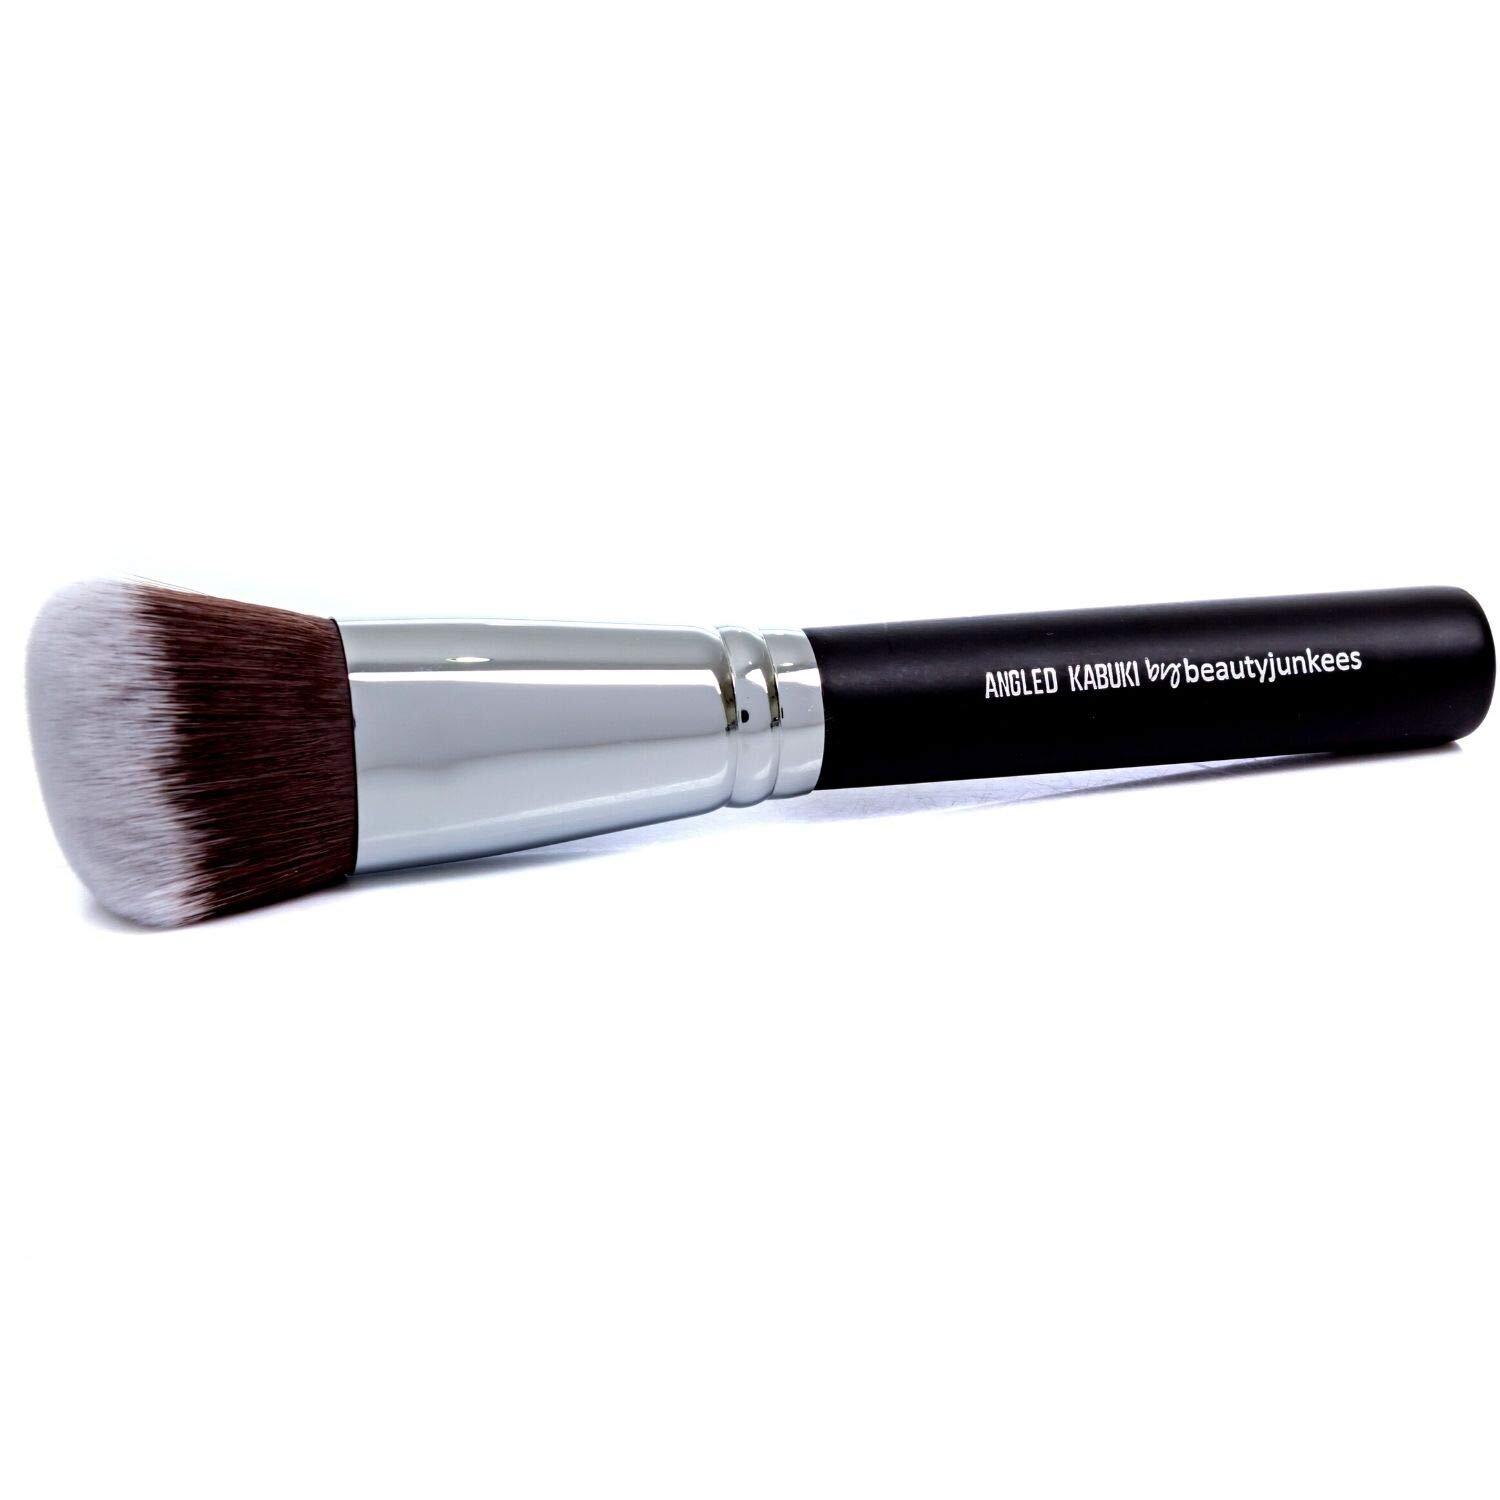
Make up brush
Dip powder ESSENTENTIAL. You can always “tap” the powder off but this keeps it less messy and a little more professional.
Acetone
100% acetone for nail polish removal, gel sticky top coat removal and any mishaps or spills ;).
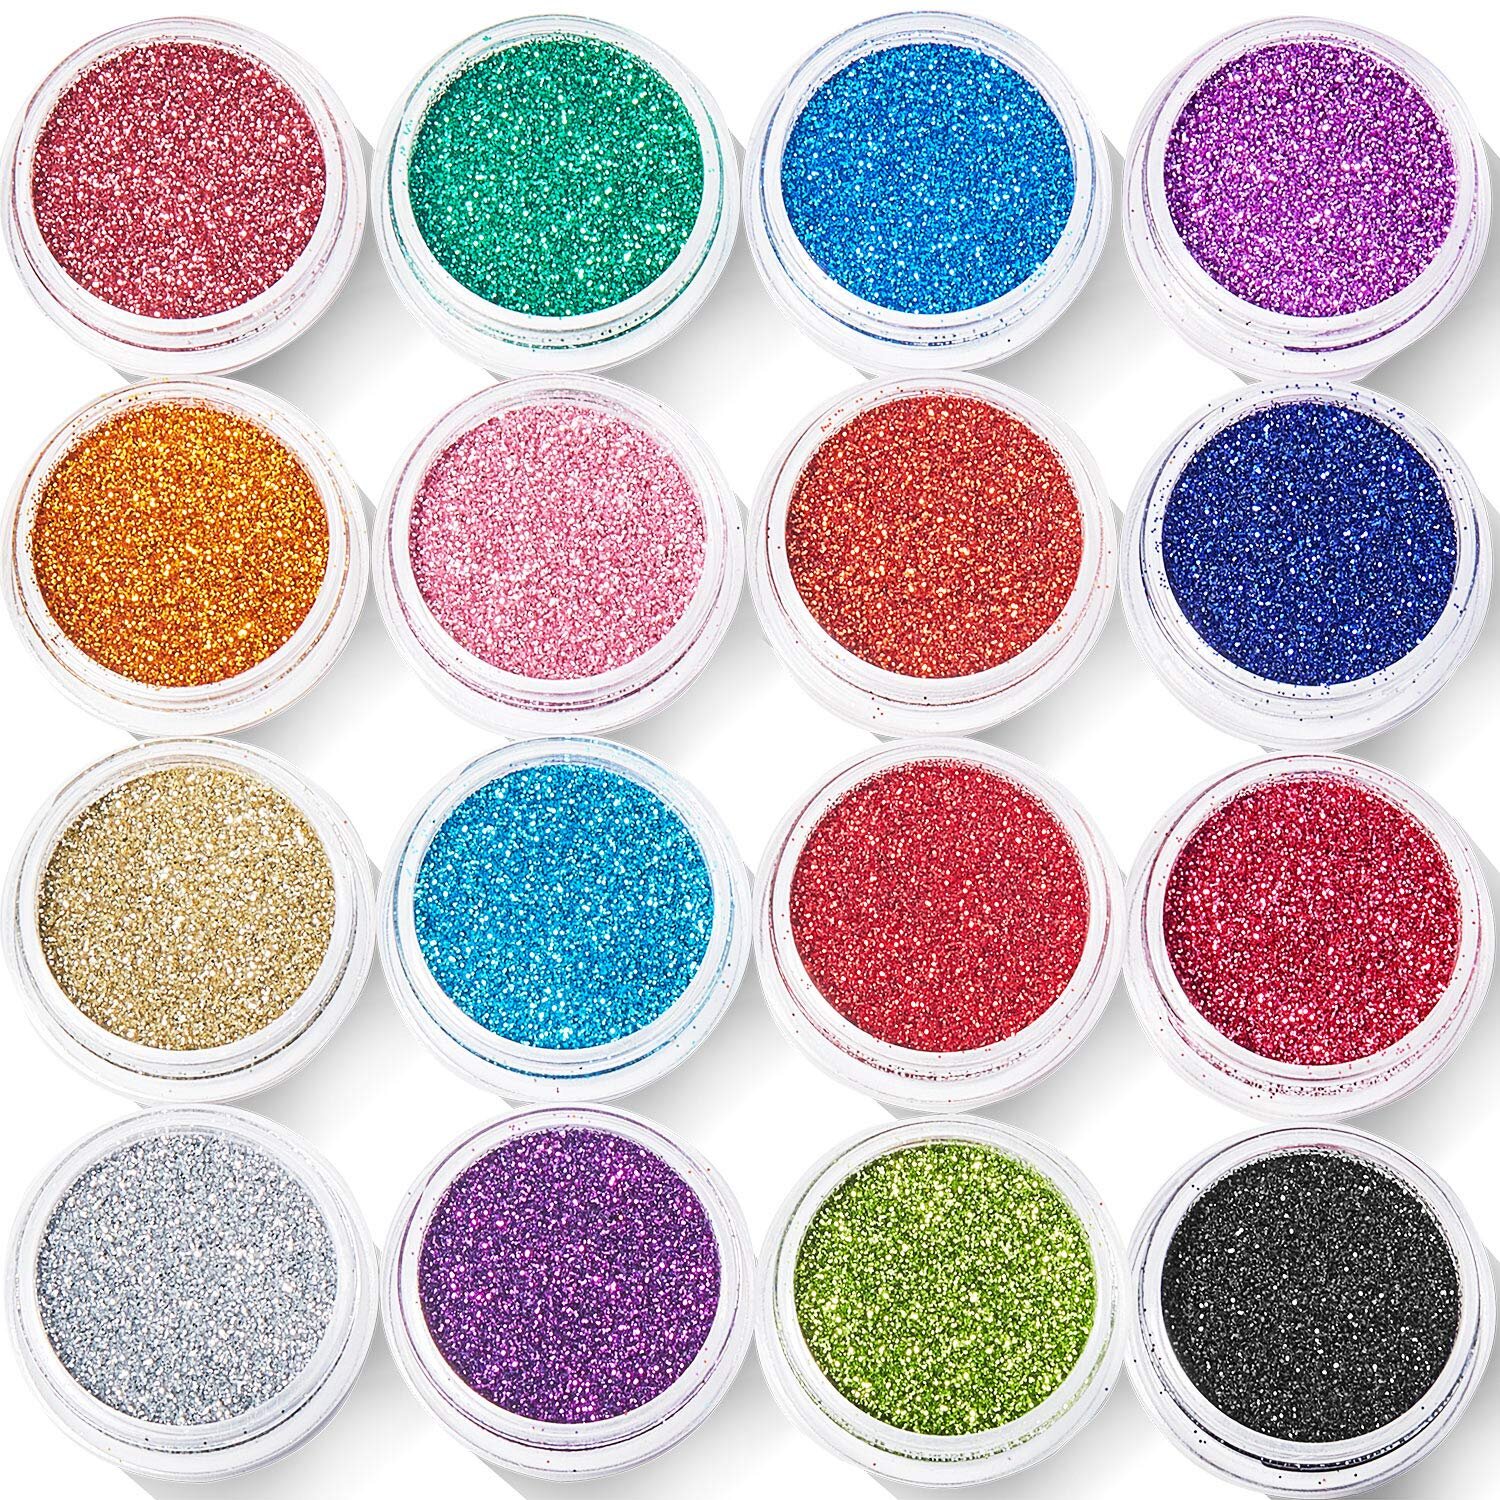
Chrome powders
Mermaid effect people! You’ll thank me later! It’s so lovely on top of a bright spring or summer color and is an added touch you get a salon but now you can do at home anytime!
“Nail polish is like the icing on beauty cake!”

A lot of kits come with instructions specific to their products and can help you with their steps on the entire process

Buff each of your nails until they are completely smooth and not gritty
Make sure you have a good buffer that’s not dull and can do the job. I’ve linked these below. Super affordable and cheap.

Apply one coat of the base/top coat, wait 60 seconds of air drying time, then apply a second coat and wait another 60 seconds

Finished product! It is so easy and quick. Quicker than gel nails and probably last tiny bit longer than them too!
Hopefully this information isn’t overwhelming and is helpful! If you have any questions please reach out, I’d love to help you find some good nails products!
Shop this post!


*Disclosure: The Loveliest Detail only recommends products we would use ourselves and all opinions expressed here are our own. This post may contain affiliate links that, at no additional cost to you, we may earn a small commission