Tabletop S’more Party
What's summer without s'mores?! This party was so much fun with our families and the tutorial to make your own is much easier than you think! Let's get started....


One day a month or so ago I was craving that perfect golden marshmallow roasted by the fire! Some places right now you can’t even have a fire outdoors so this got me thinking and the creative juices started flowing and the Tabletop S’more Box was born. This fire box allows you to entertain your guests inside your home or even in your backyard in a safe and fun way. It’s super unique and easy to achieve.

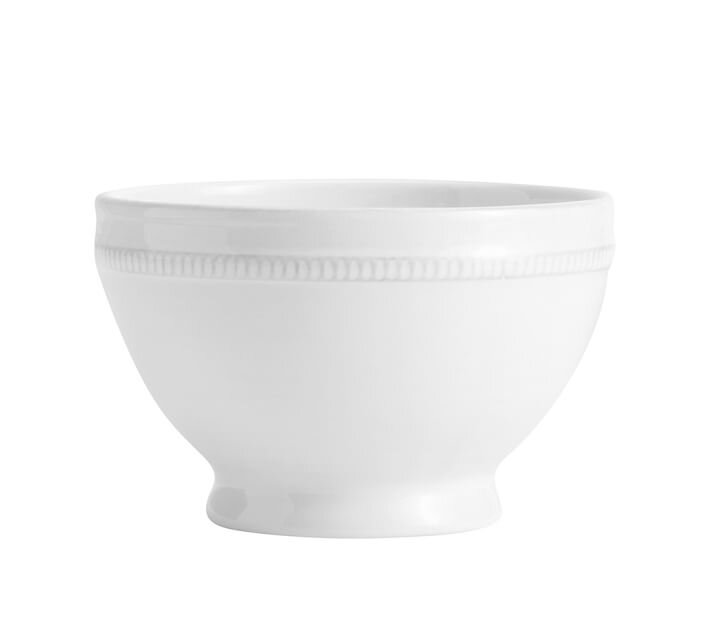
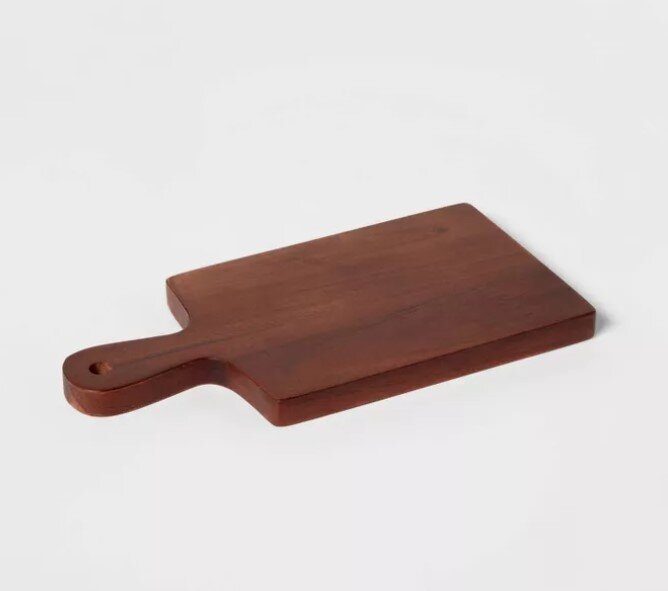
We displayed our party food in a few different way….a large charcuterie board, mini charcuterie boards, cones and bowls.

Everyone loves a good graham cracker or some chocolate cookies but you know our love our Gourmandise so we had to incorporate their yummy almond horns for our s’mores! It’s a match made in heaven! I’ve never had a better s’more than these. It’s already dipped in chocolate and provides the perfect amount of each ingredient taking your s’more party to the next level. Everyone will be impressed with this fun detail. Run to Gourmandise….you won’t regret it!


The campfire cones! It’s no secret we love cones around here and you’ve seen us use them several ways in the past. This time was ice cream waffle cones with mini Reece’s inside. To roast these we’d suggest wrapping them in tin foil and throwing it over coals or in a warm oven. You could do it over the fire box but it would take a bit more time.


Proving a small personal charcuterie board is my personal favorite. I’m a sucker to snacking and I just took my little board with me to my seat and called it dinner! ;) You can customize these boards with your favorite s’more ingredients or even add a few more fun items like peanut butter and berries. Both of which pair nicely with a warm marshmallow and almond horn.
TUTORIAL
Making this wooden fire box is easier than you think and very inexpensive!
Grandpa Joe! He’s the greatest man I know and has been a huge part of my life. He’s always making things and you guys have heard me talk about his talents and his garage full of supplies. When I told him my plans to make this he jumped right in and we made the first box together in one day! I messed up a few times and have learned so much from his expertise.

My vision for this fire box was grand but I’m so glad I made it as big/long as I did. It’s the perfect size to act as a table centerpiece and also provides 5 spots to roast so your guests all have an opportunity to participate more quickly. I made my boxes 4 feet long. Why did I make 2?! Well, why not? ;) I made the white one first and filled it with mini pebble rocks but after completing it I started realizing there may be better ways to make this and other ways to fill it/design it.


The first box was assembled with screws. It was harder to get more seamless and didn’t look as good with the nails showing. Spray painting it white was a good fix and it matches most décor so it worked out great that way but I wanted to try gluing a box. Easy! It is also filled with small multi-color pebble rock from Rockscapes in Utah. It was more fun to go there and load up rocks than a purchase off of Amazon. We’re all about the fun fieldtrips over here!
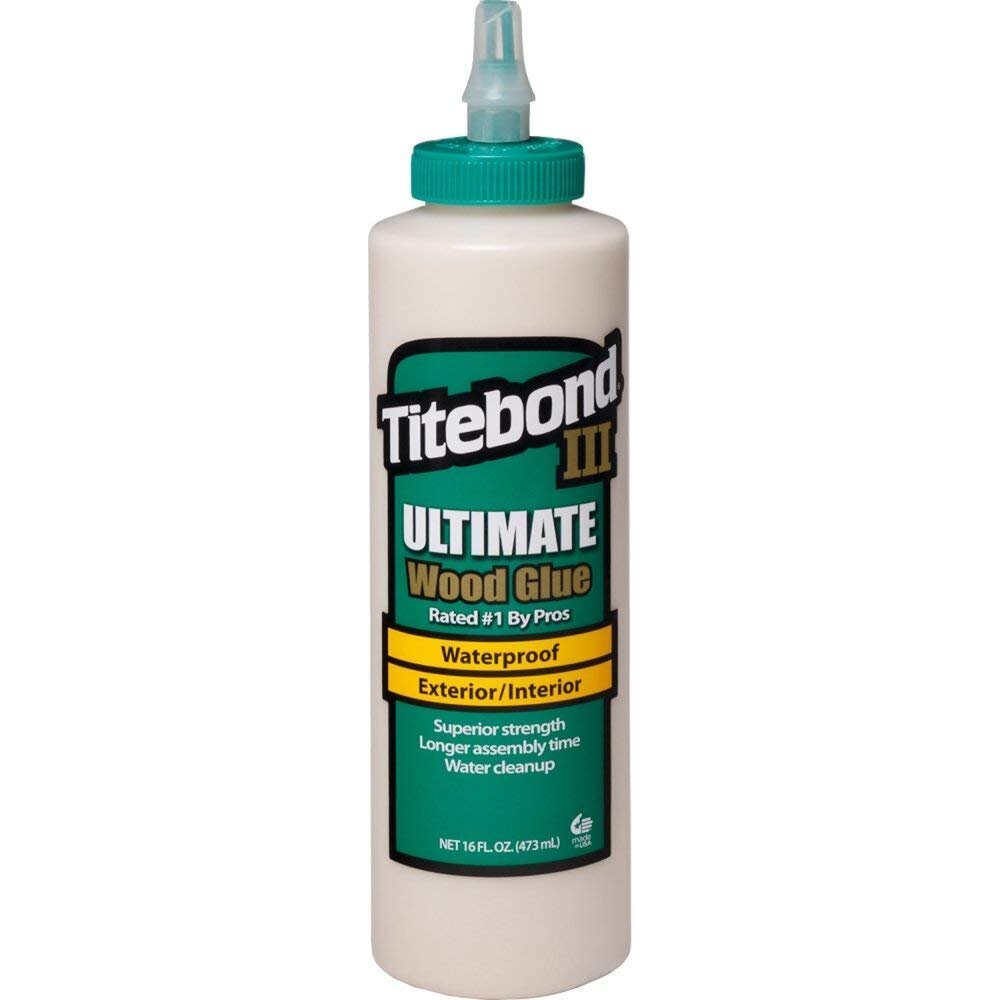
The second wooden box is made with a bit nicer wood, white hardwood maple, and it was glued with wood glue. We used vice grips to hold it in place over night so it dried just how I wanted it too. It’s very durable and seamless. I’d recommend this option for sure.
I filled the second box with fireplace reflective glass rocks from Comfort Solutions. They have a great selection of rocks to choose from and working with their team was great! Everyone there is very helpful and kind. I choose a darker brown color but the options are endless with this and you could really have so much fun with any color you choose.
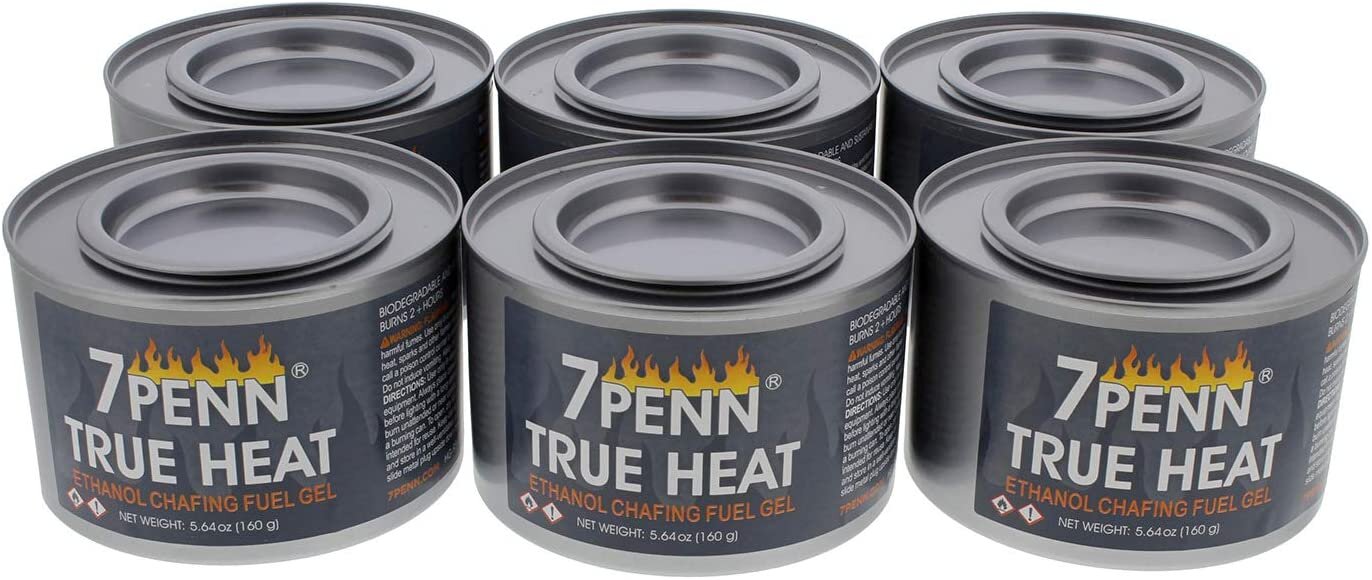
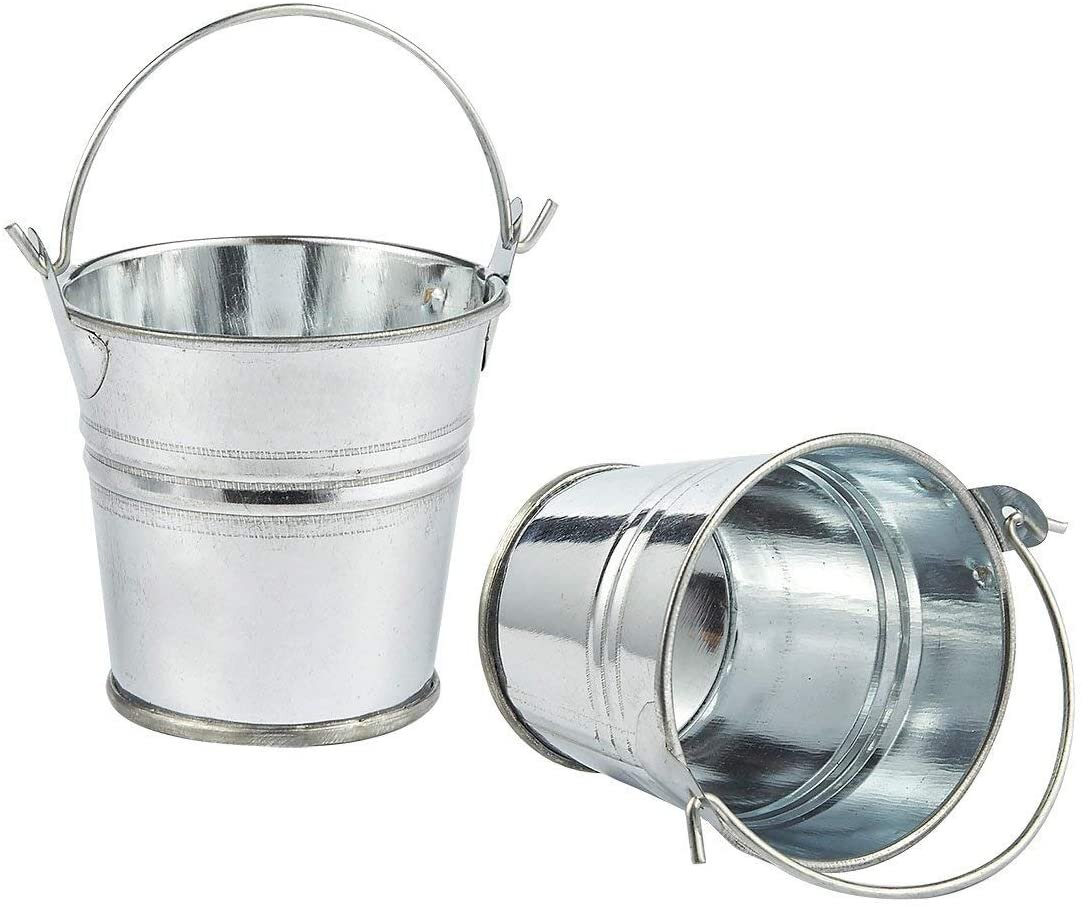
I used camping fuel/sternos to line the box and when your ready, just light them up and it’s party time!
My grandpa Joe loves field trips so above are pictures of my kids and I at the wood store. We love spending time together and of course we stopped for Costco hot dogs afterwards. We wanted a more specialty wood but my tutorial will work for regular wood you can buy at Lowes or Home Depot.
Materials:
Camping fuel/sterno (big or small will fit in these dimensions)
Wood glue
Finishing nails (optional)
Rocks/glass rocks/beads
(2) 1x4x8 common board or wood of your choice- have them cut both boards in half (4ft long/ea) then have them cut (2) 5″ long pieces from the 4th board. This makes a box 4′ long x 5″ wide
Stain/spray paint (optional)
We like to cut our boars at the hardware store. It’s easier to take home and if you don’t own a saw then this will make the tutorial achievable for you. Cut as directed above and glue each board with little dabs along the length and hold together. You can use finish nails to secure as well.
You can make it as big or small as you’d like but using 2 common 8' foot boards will give you one long table top smore box.
Make sure you are very carful when playing with fire. We use rocks or beads or glass rocks to fill the box because they can withstand the heat from the sternos. You do not want to fill it with anything that could burn or melt.

Shop this party!