DIY Macramé Rainbow
We've all seen this cute craft going around! It’s darling and very easy and affordable to achieve. You really only need a few different materials to achieve it and bonus, your kids can make it themselves!
This craft turned out to be really fun! I made it with my 5 year daughter and we keep it on her bookshelf in her room. It can be hung and used many different ways but my favorite part of this was being able to really customize your colors and design. You can make it as big or as little as you’d like and add in any fun details along the way.

Materials You Need:
Rainbow Macramé:
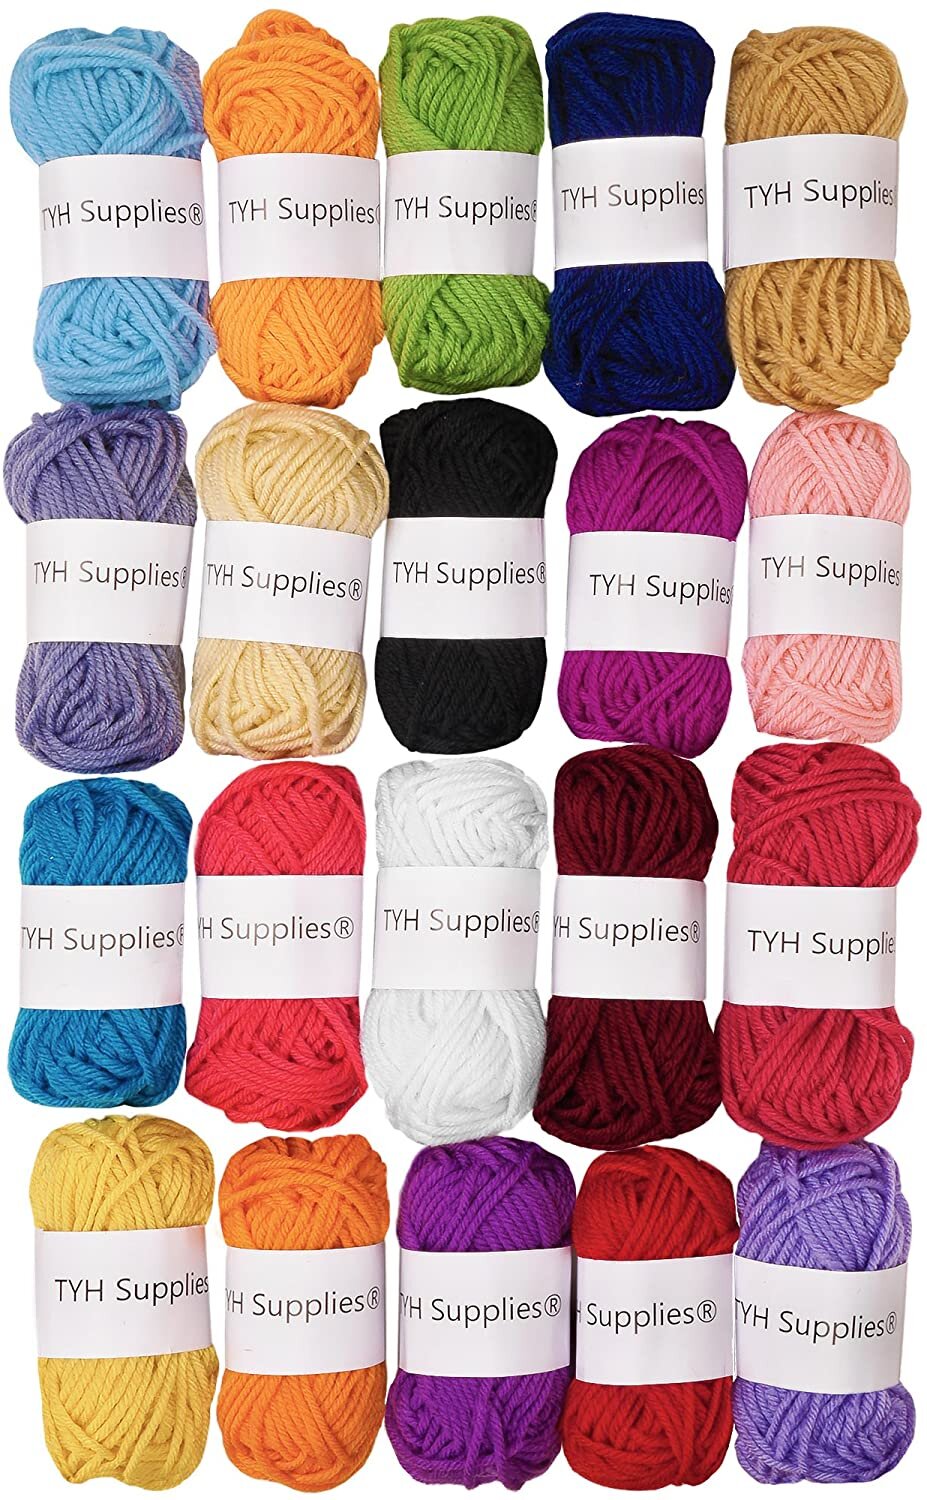
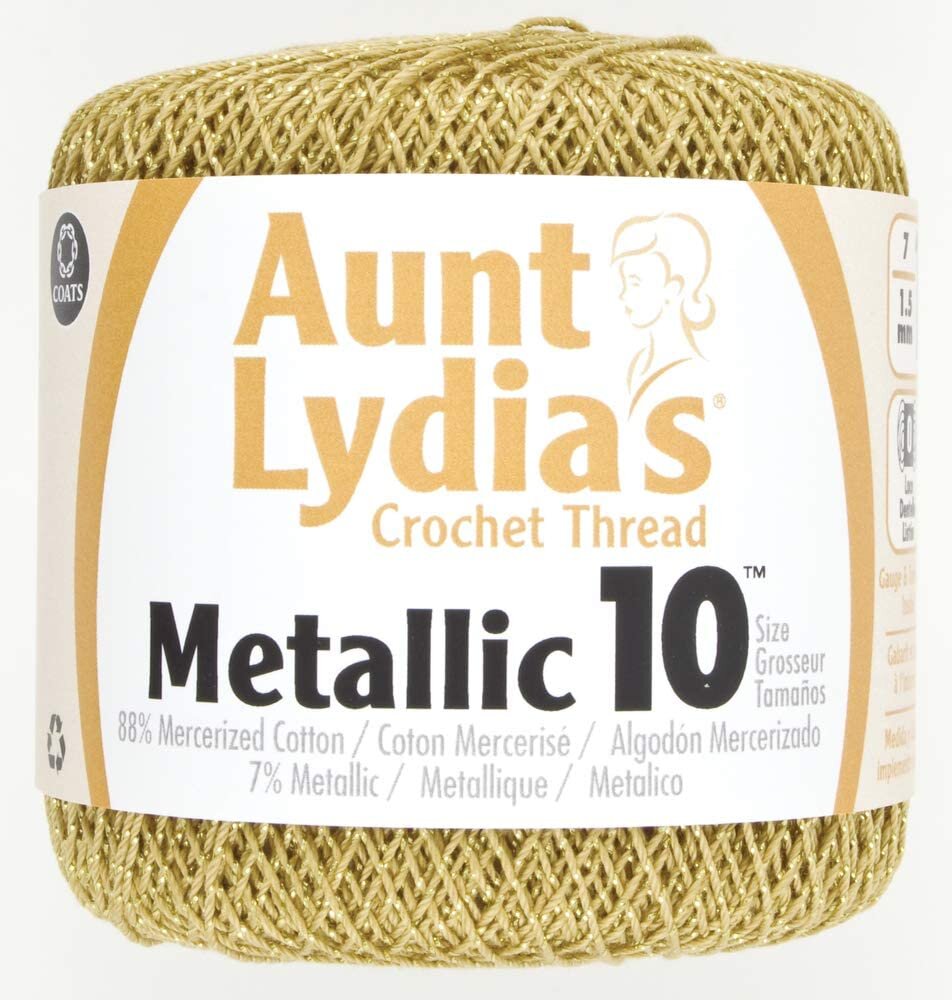
Yarn
4 colors of your choice
Decorative yarn (optional)
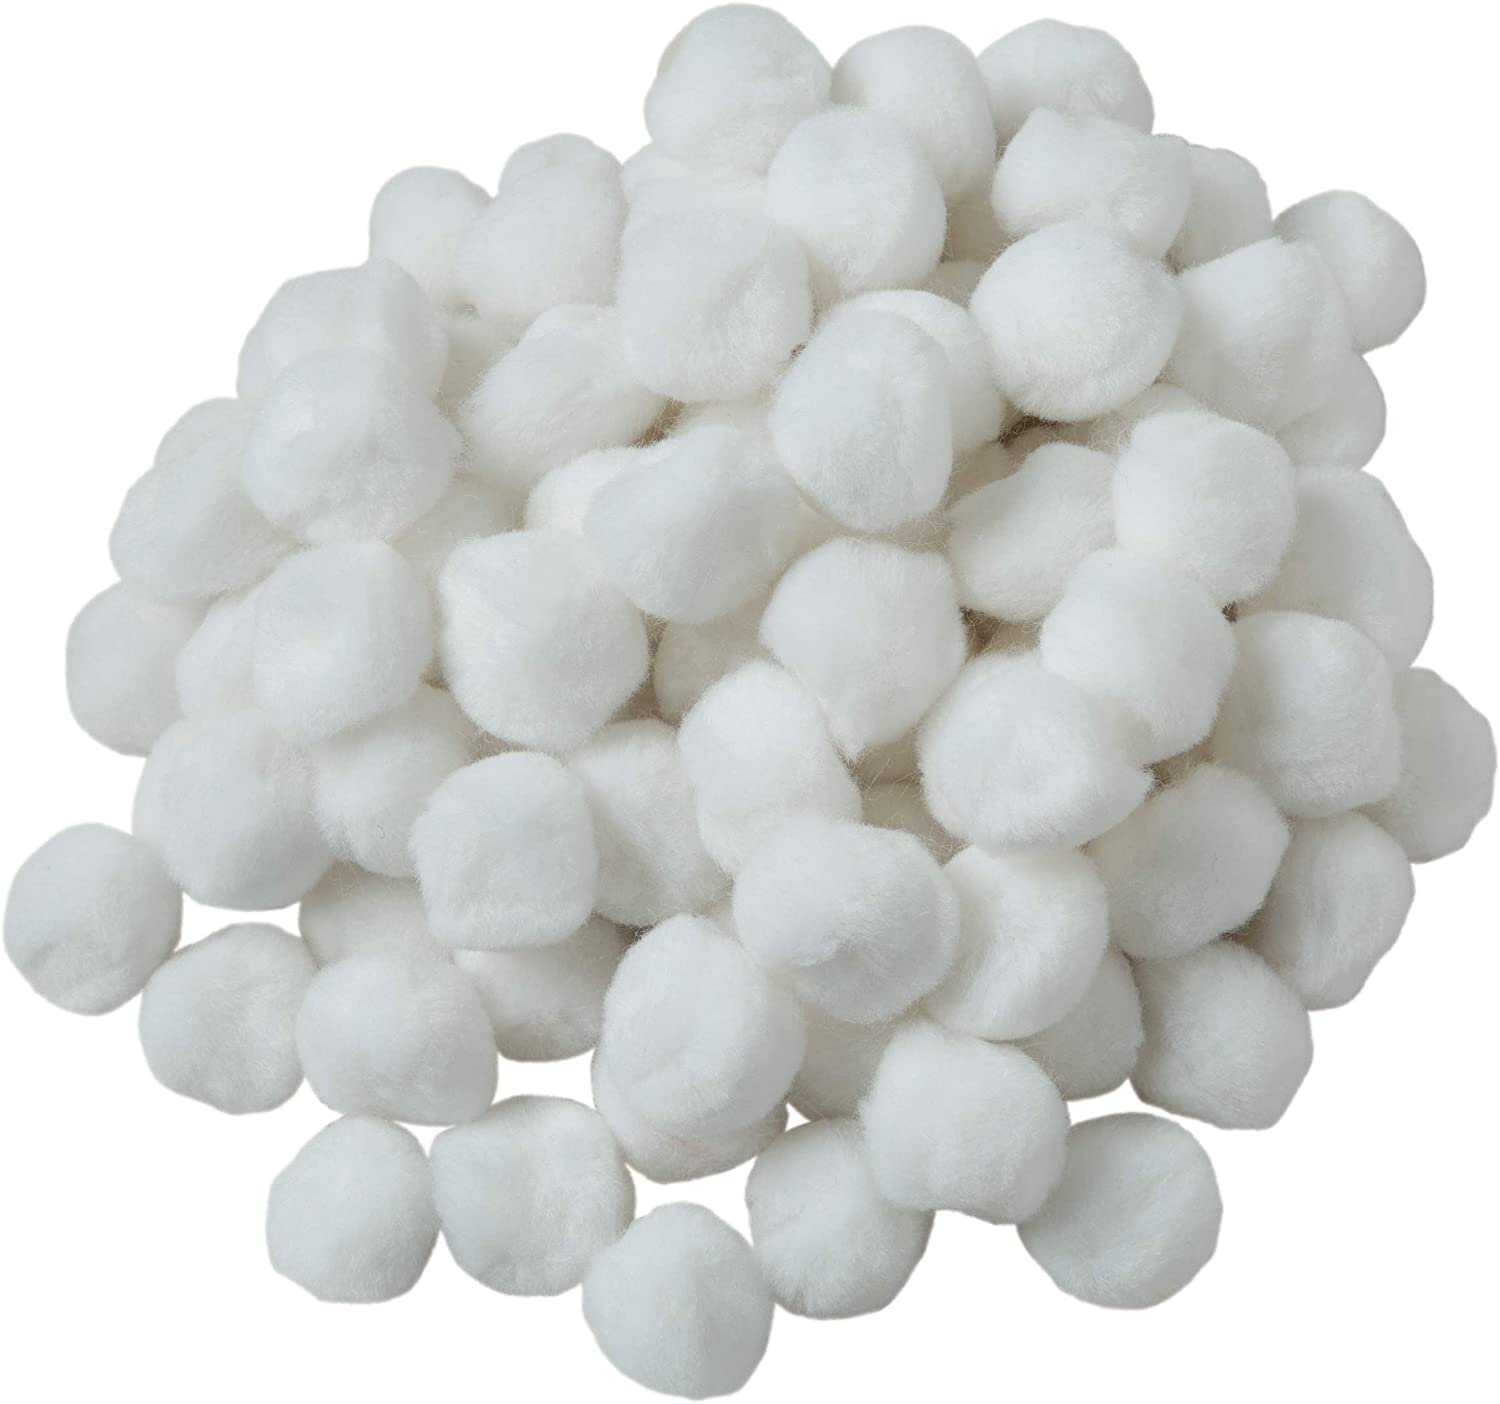
Felt Wool Balls
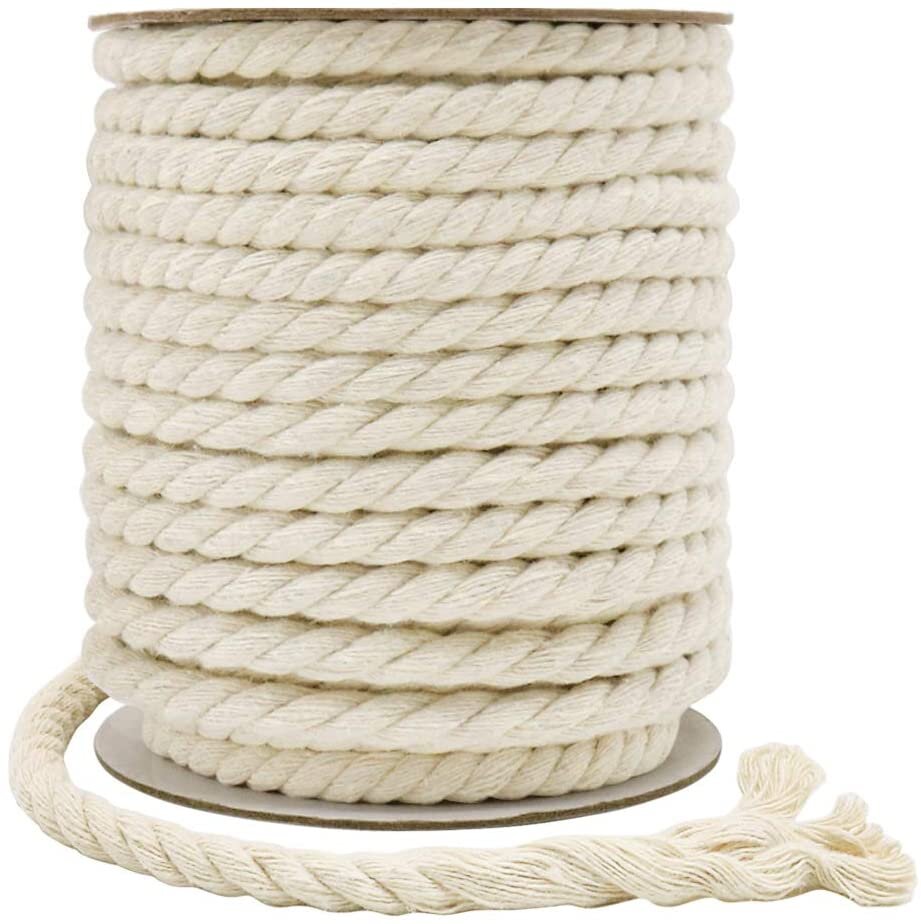
Twisted Cotton Rope into 4 lengths
17”
14”
12.5”
10”
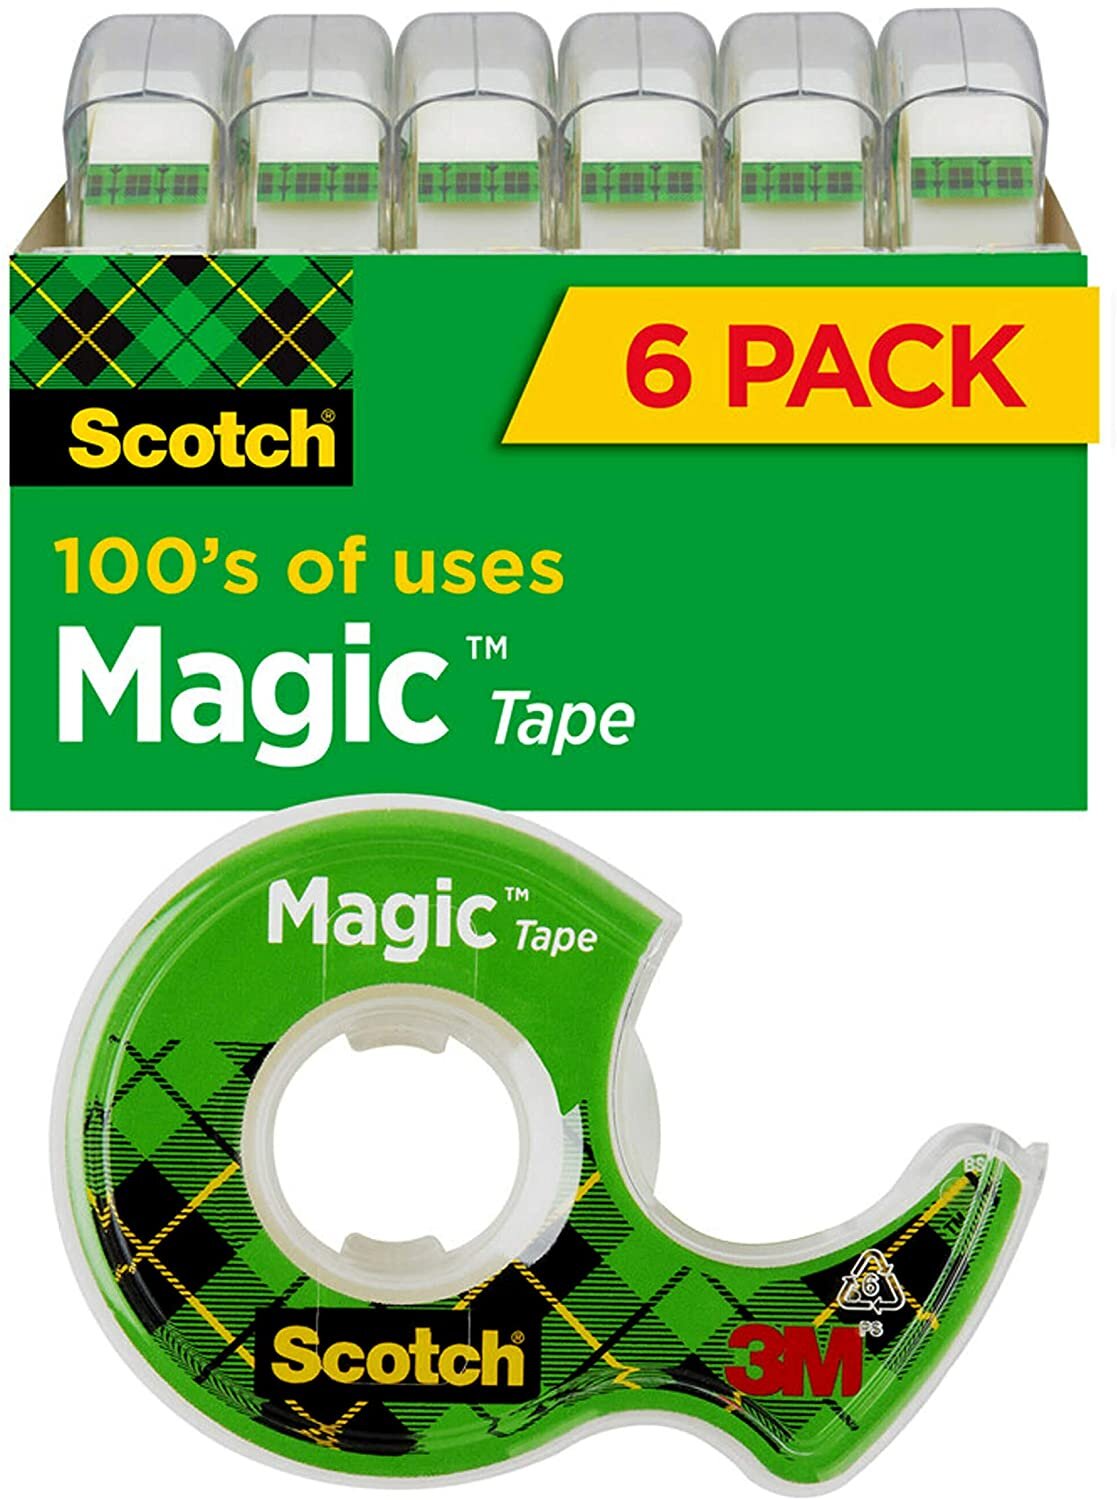
Tape
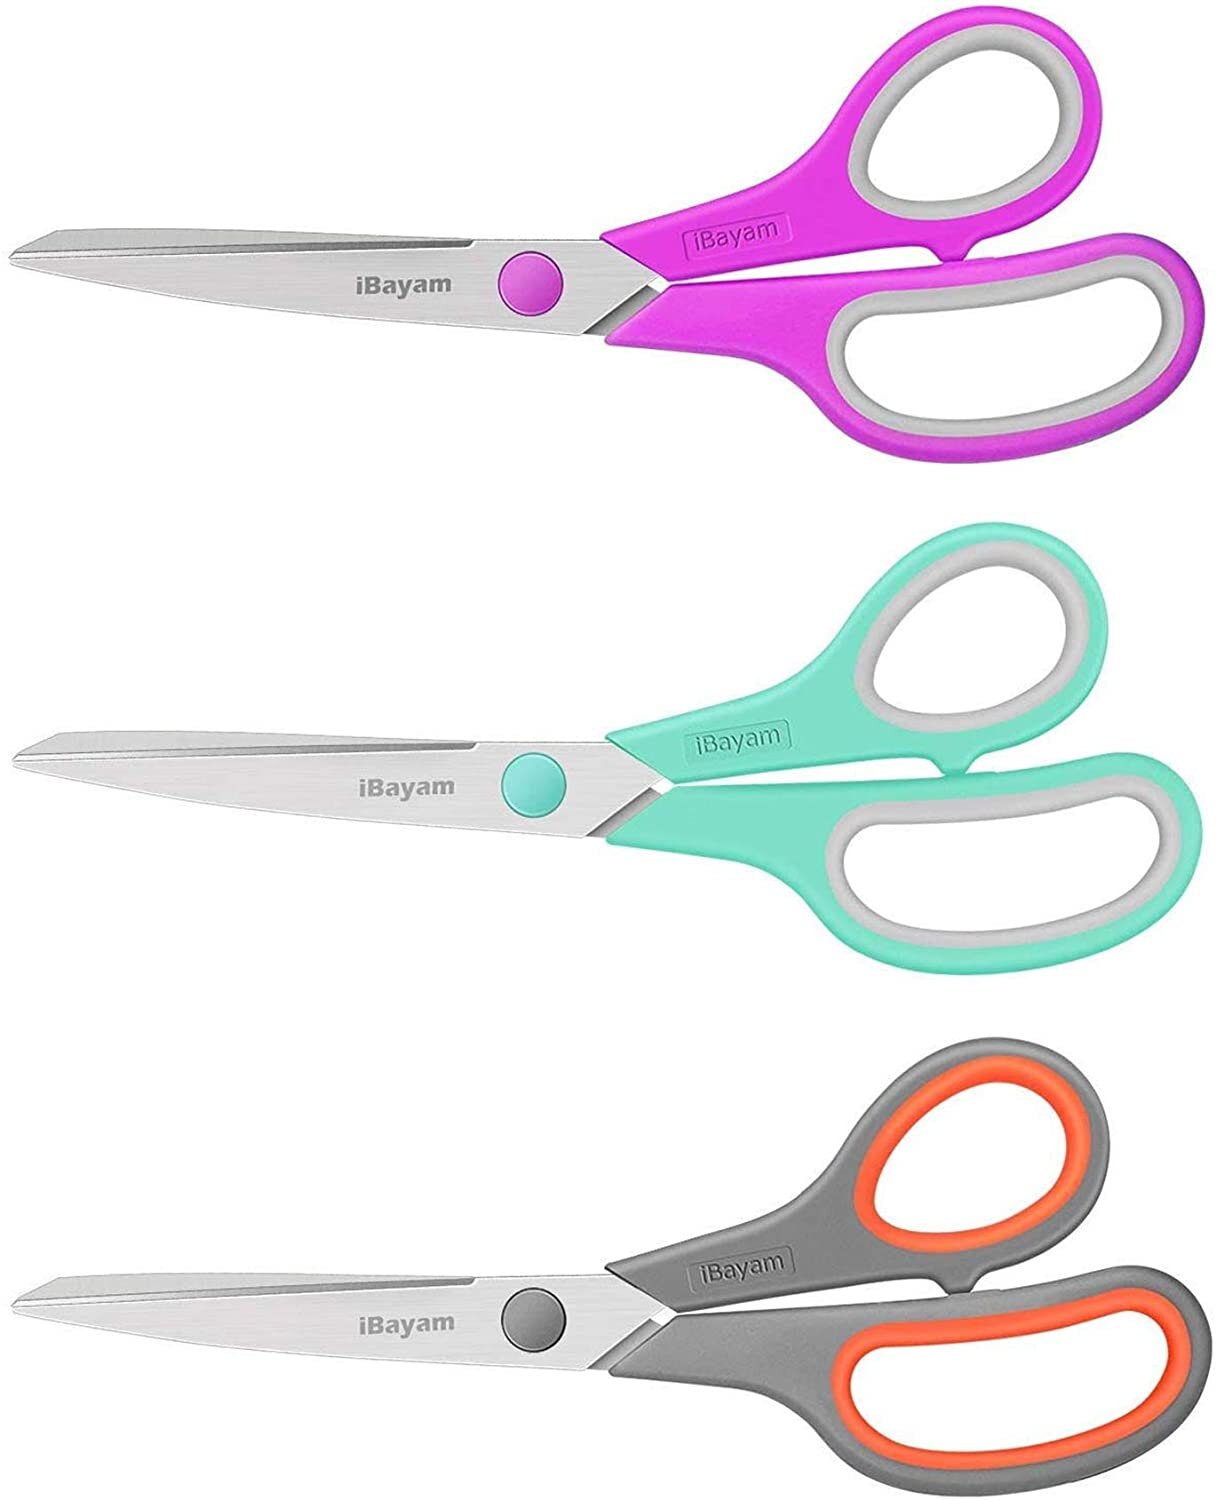
Scissors
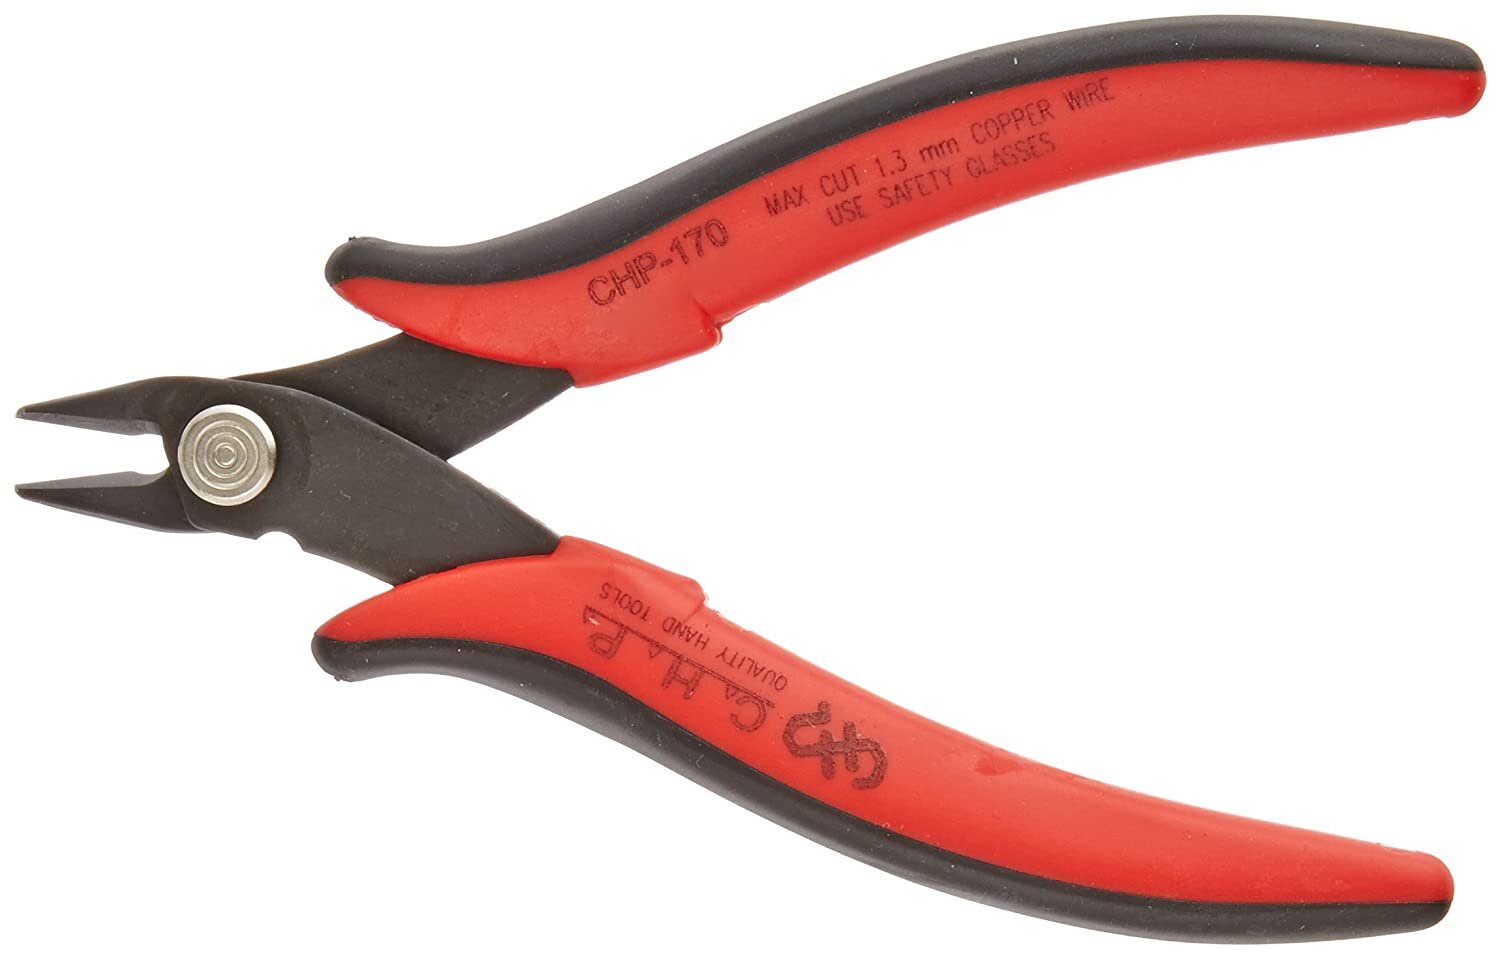
Wire Cutters
Card Board (backing to enhance the strength and design)

DIRECTIONS :
Step 1:
Start by arranging your rope into a rainbow shape. You can follow my cut lengths or you can make yours as big or as little as you’d like. Just play with the sizing until you figure out what you like best. You can do more than 4 layers in your rainbow! The fun thing about this craft is that you can really customize it to your liking! My cute 5 year old daughter picked out all her colors and even found some cute gold yarn so we added that in for a little more depth and detail to one of the ropes. The pom poms were a must and totally made this craft come to life!
Step 2
Add tape to each of the ends of the rope. This ensures you leave space for your raw unfinished ends and also helps you to manage your sizing.
Step 3
Begin wrapping your yarn by tying a knot at the end and just start wrapping evenly and tightly until you achieve your desired look.
Step 4
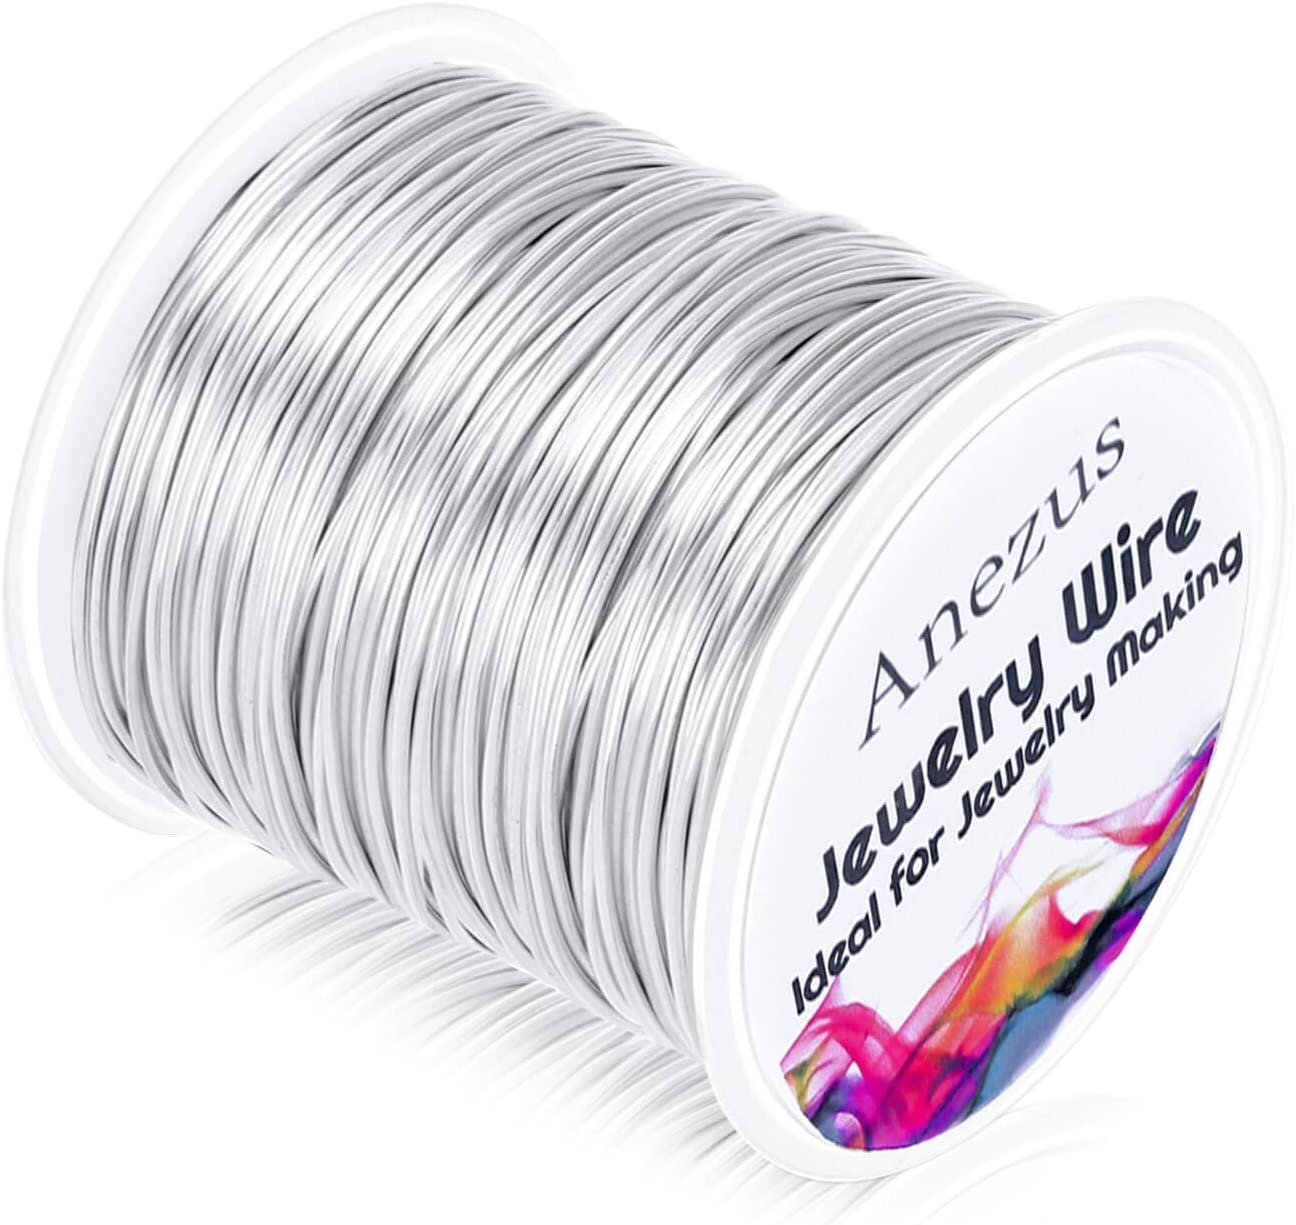
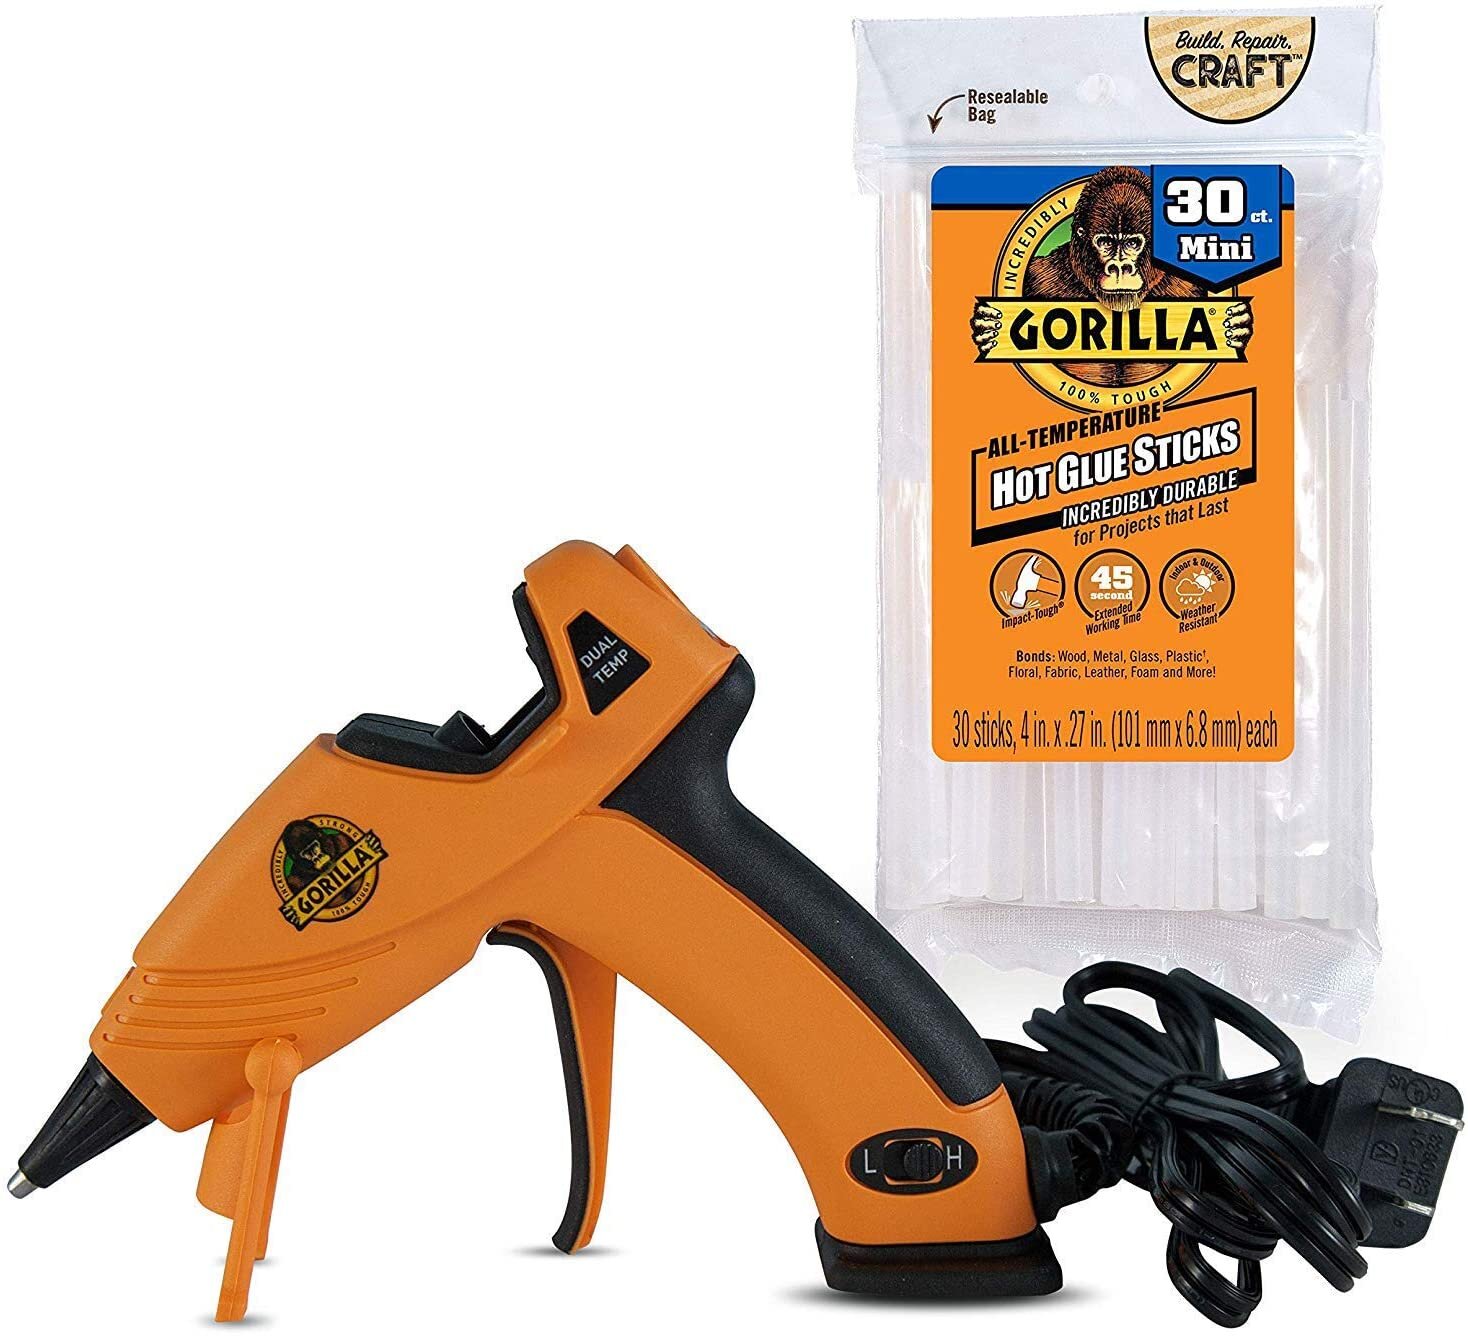
Hot glue the ropes together so they hold better in place and keep the shape. We also backed it with card board. We also used wire to attached the ropes together
Step 5
Make sure to add a little string in the center so you can hang it if you’d like.
Step 6
Remove the tape and “fluff” the raw ends of the rope until you feel like it’s full and even.
Step 7
Glue your pom poms.
Step 8
Hang and enjoy!


Shop this post!

*Disclosure: The Loveliest Detail only recommends products we would use ourselves and all opinions expressed here are our own. This post may contain affiliate links that, at no additional cost to you, we may earn a small commission