DIY Sharpie Mugs
We've all seen this cute craft going around! It’s darling and very easy and affordable to achieve. You really only need a few different materials to achieve it and bonus, your kids can make it themselves! This was such a fun Father's Day gift idea we had to share. All our do's and don'ts below...don't miss it!
This craft turned out to be really fun! I made it with my 5 year daughter and her Sunday school class because I am their teacher. We wanted to come up with an easy gift they could give their dads and I don’t know a daddy who wouldn’t love receiving this! I decided to go with a mug because it takes less space to store and would probably be used more than a random sized white plate with kid drawings on it. ;)
I know this isn’t a new idea but I’ve found a really easy and affordable way to achieve it for all ages and bonus…you can learn from my mistakes. :)
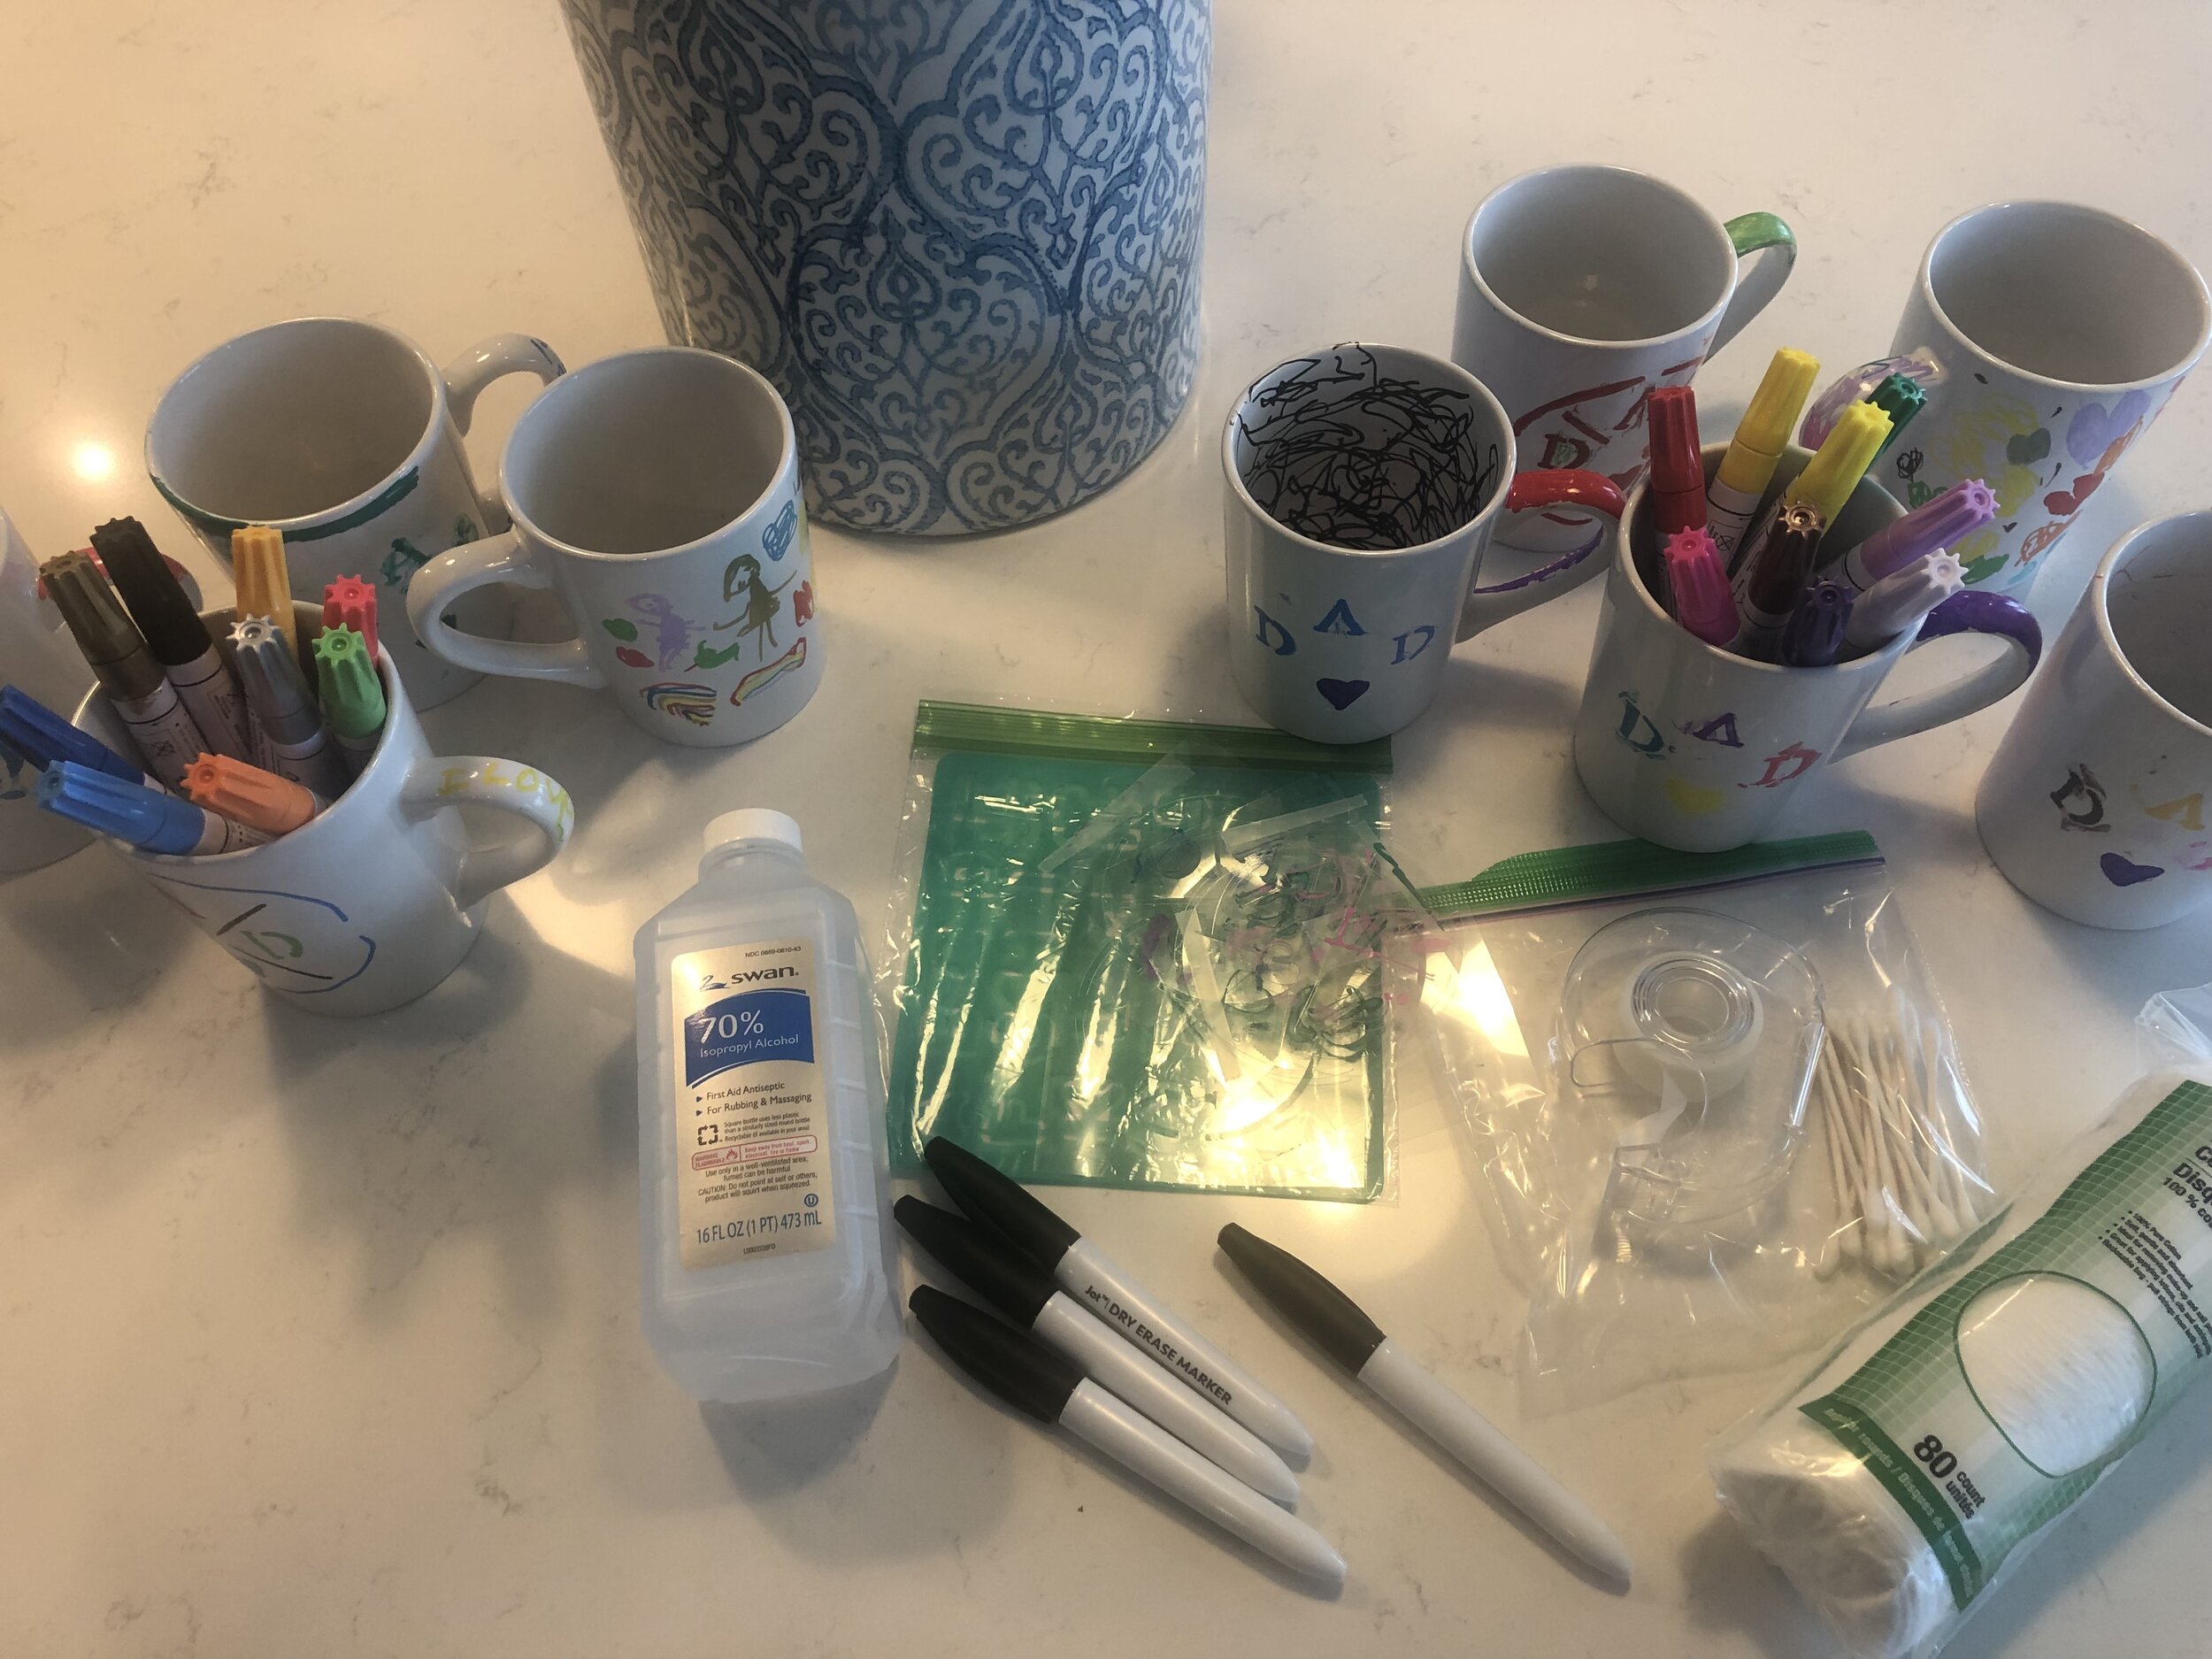
Materials You Need:
Father’s Day Sharpie Mug:
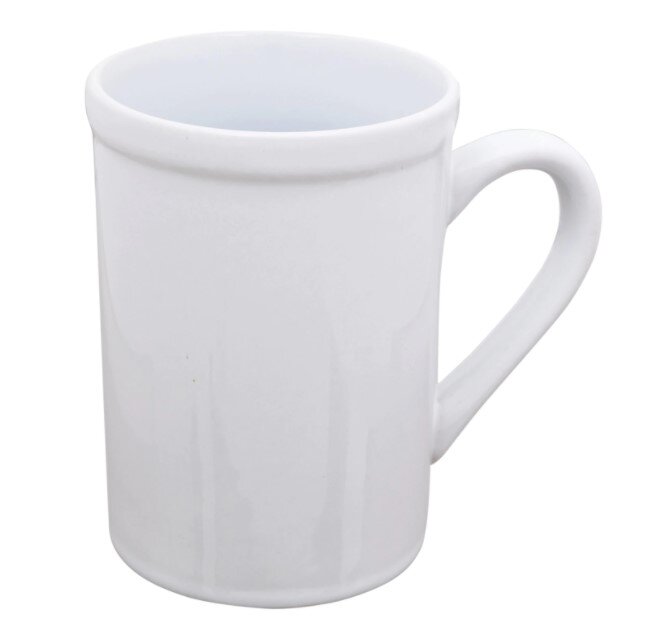
Mug
I went with white ceramic mugs from Dollar Tree!
You could also use a plate/bowl/vase, or even a fun candy dish. Whatever best fits your needs for this project.
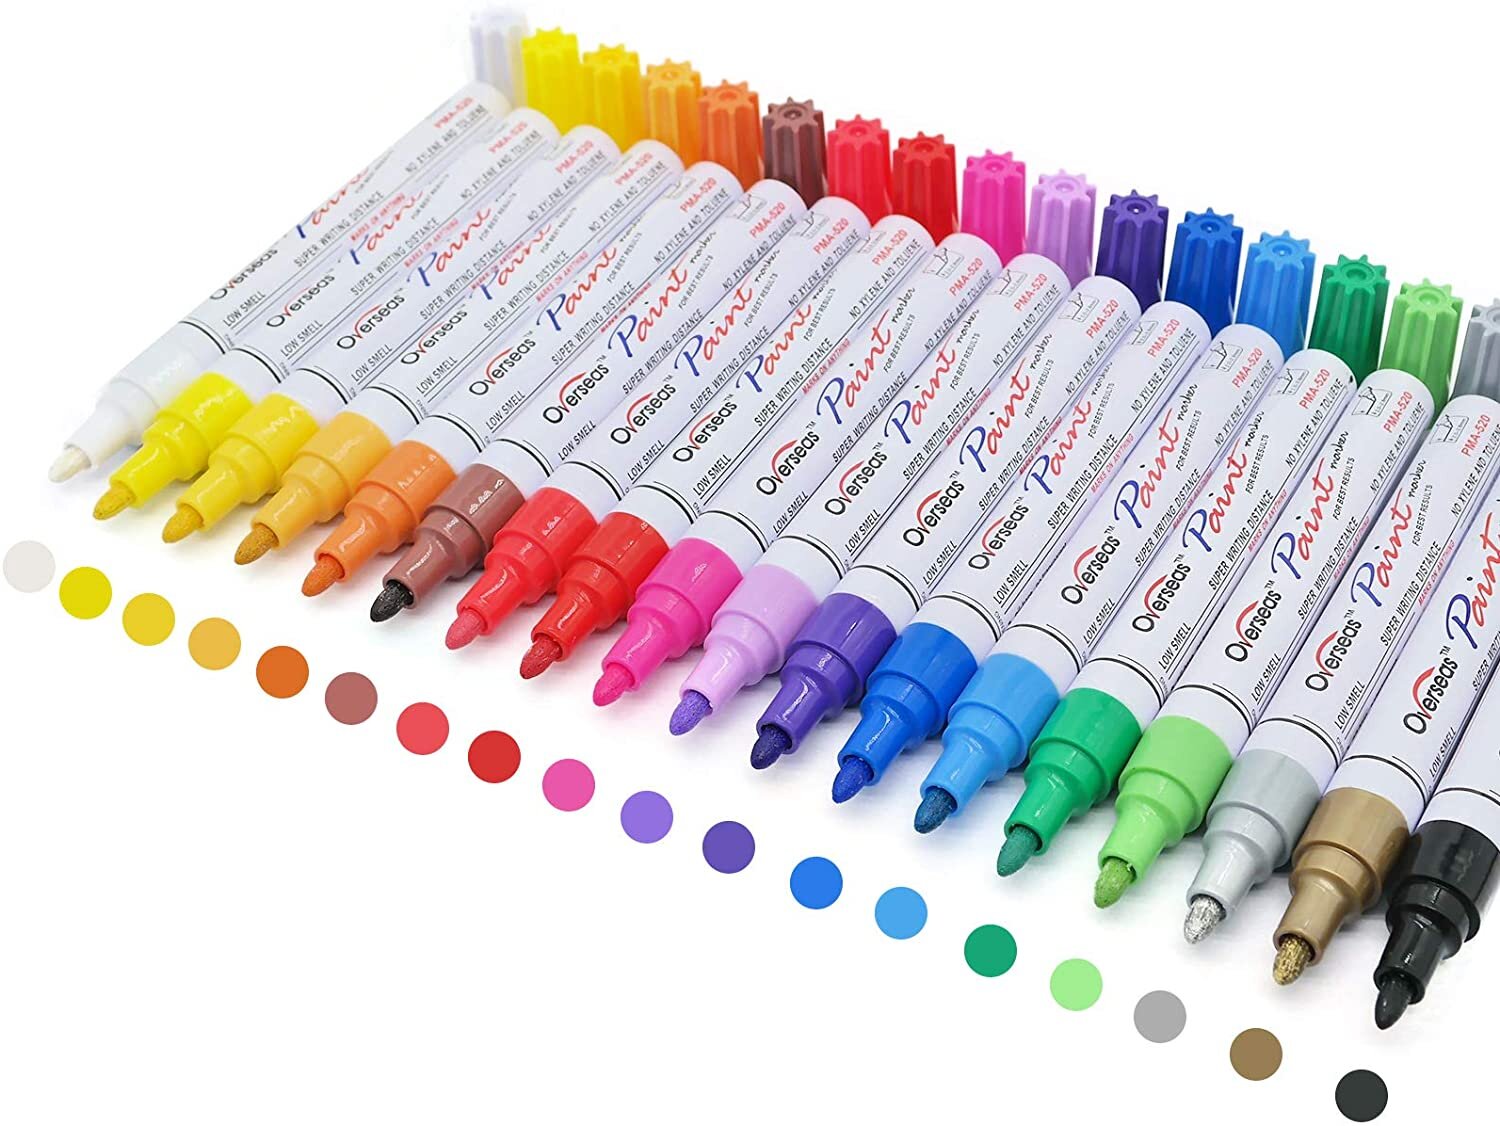
Oil Based Paint Markers
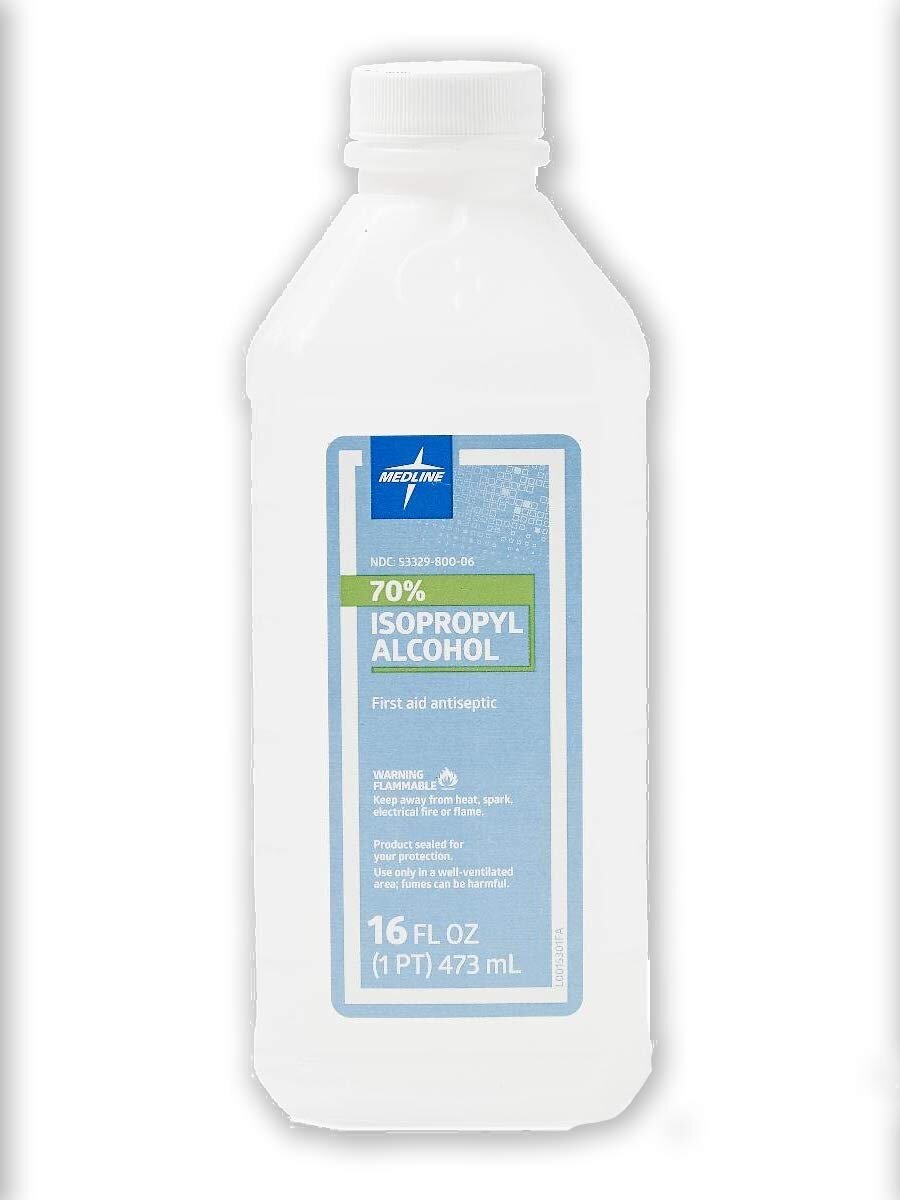
Alchol
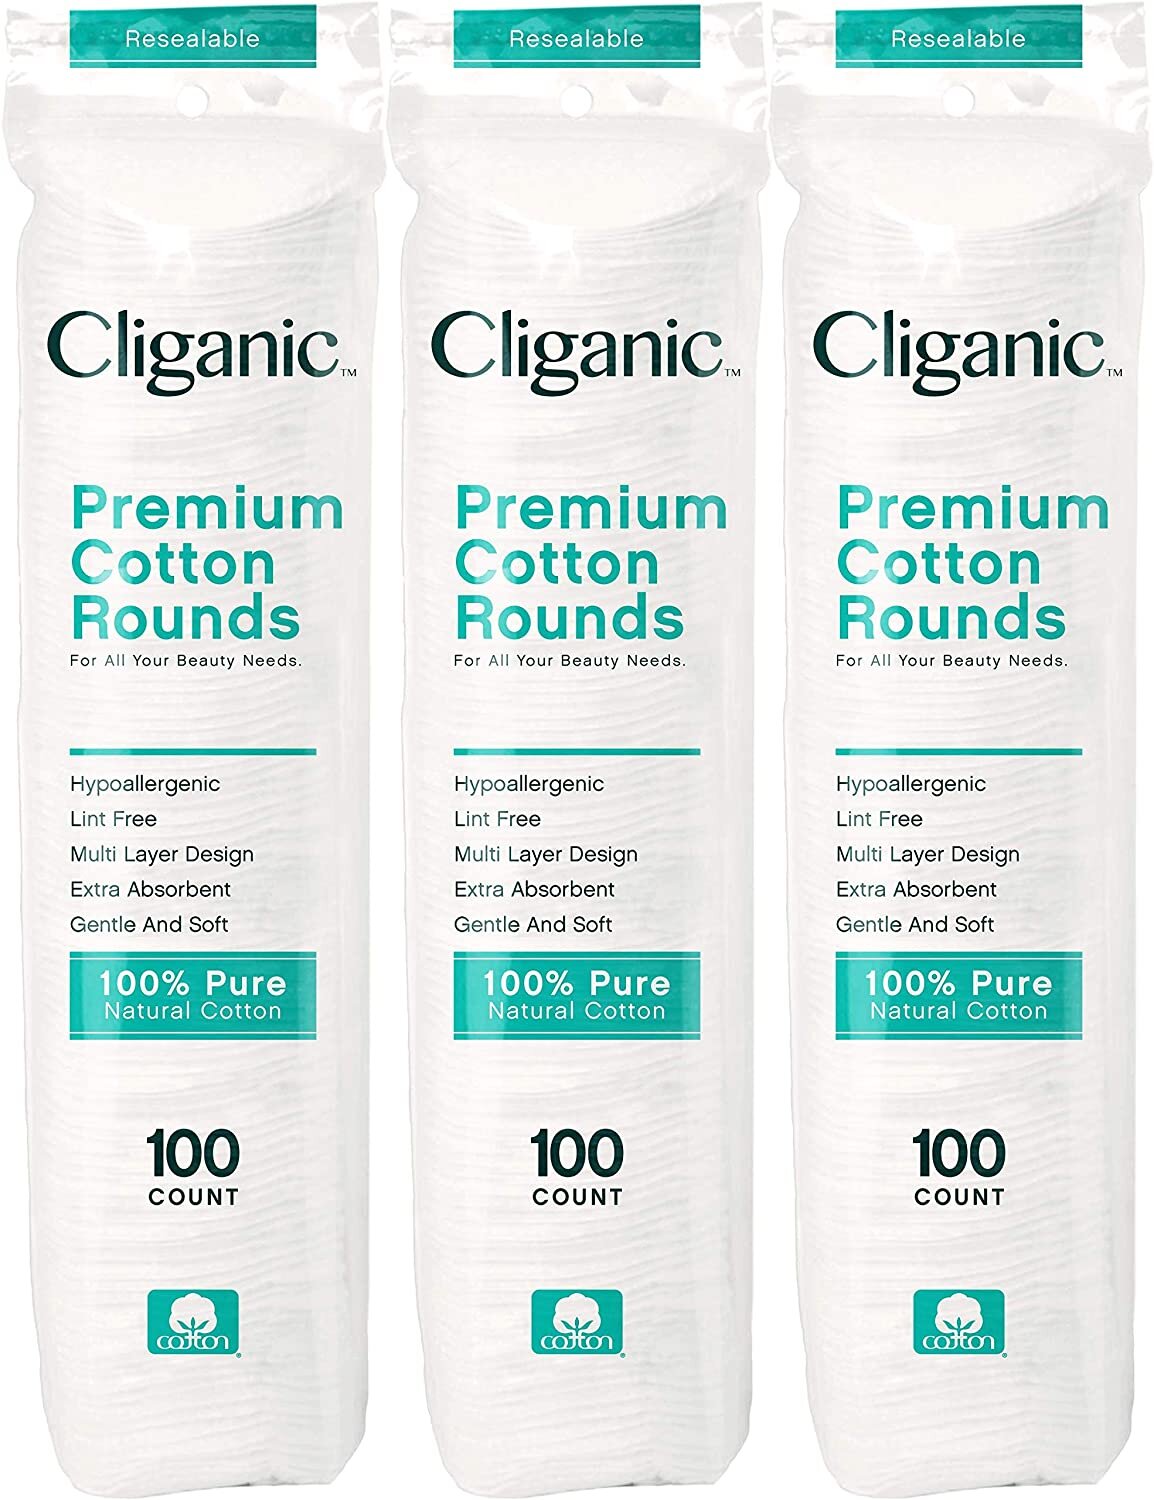
Cotton Rounds
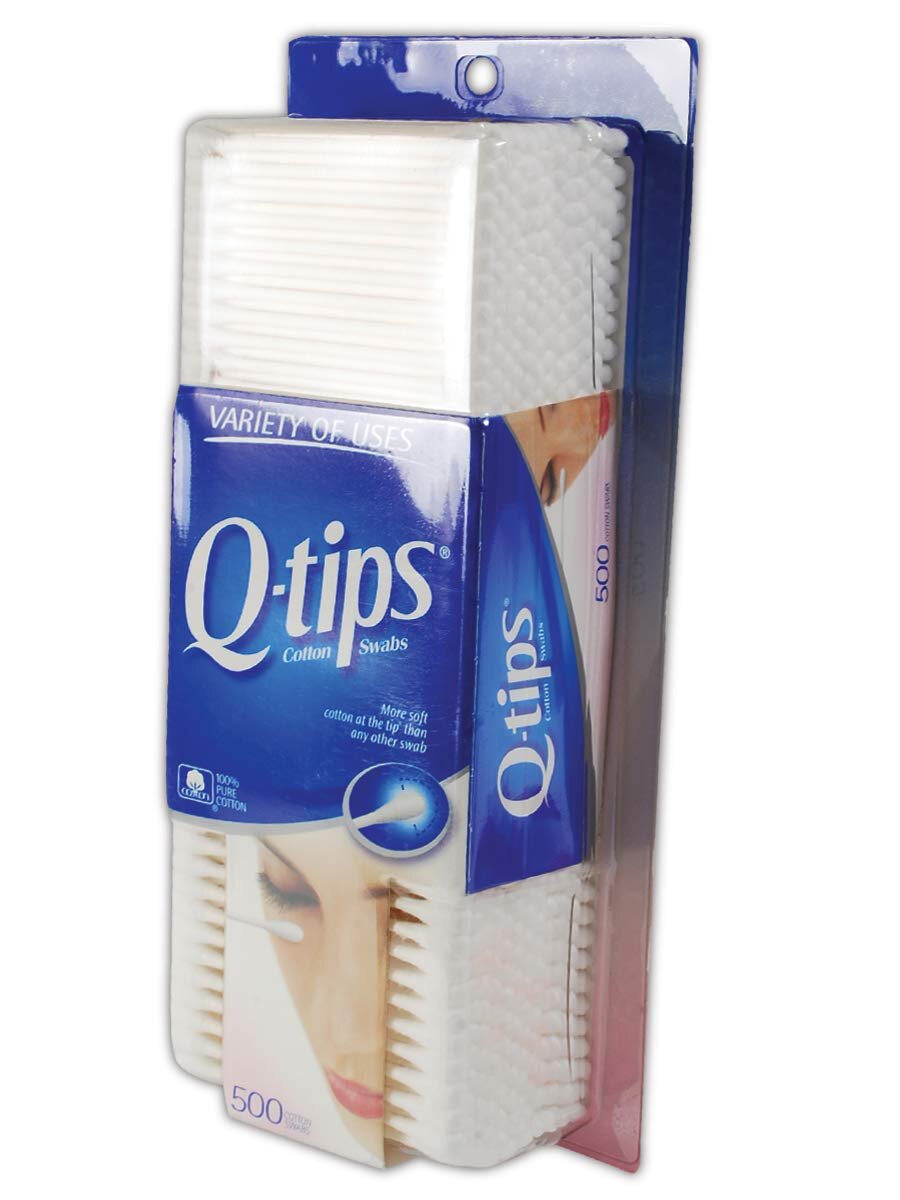
Q-Tips
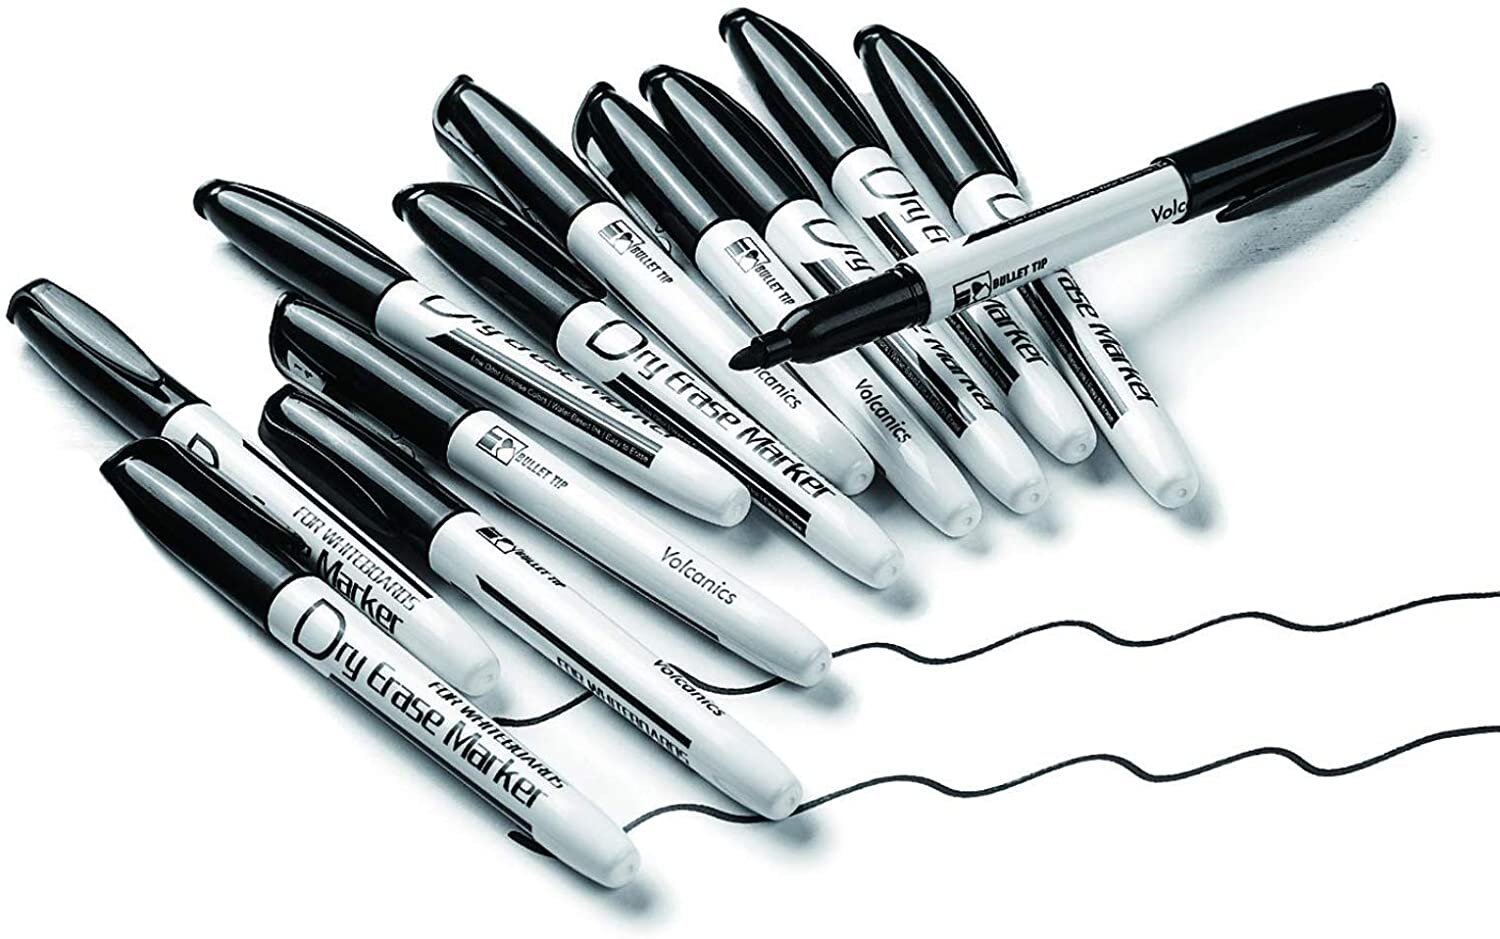
Dry Erase Markers (optional)
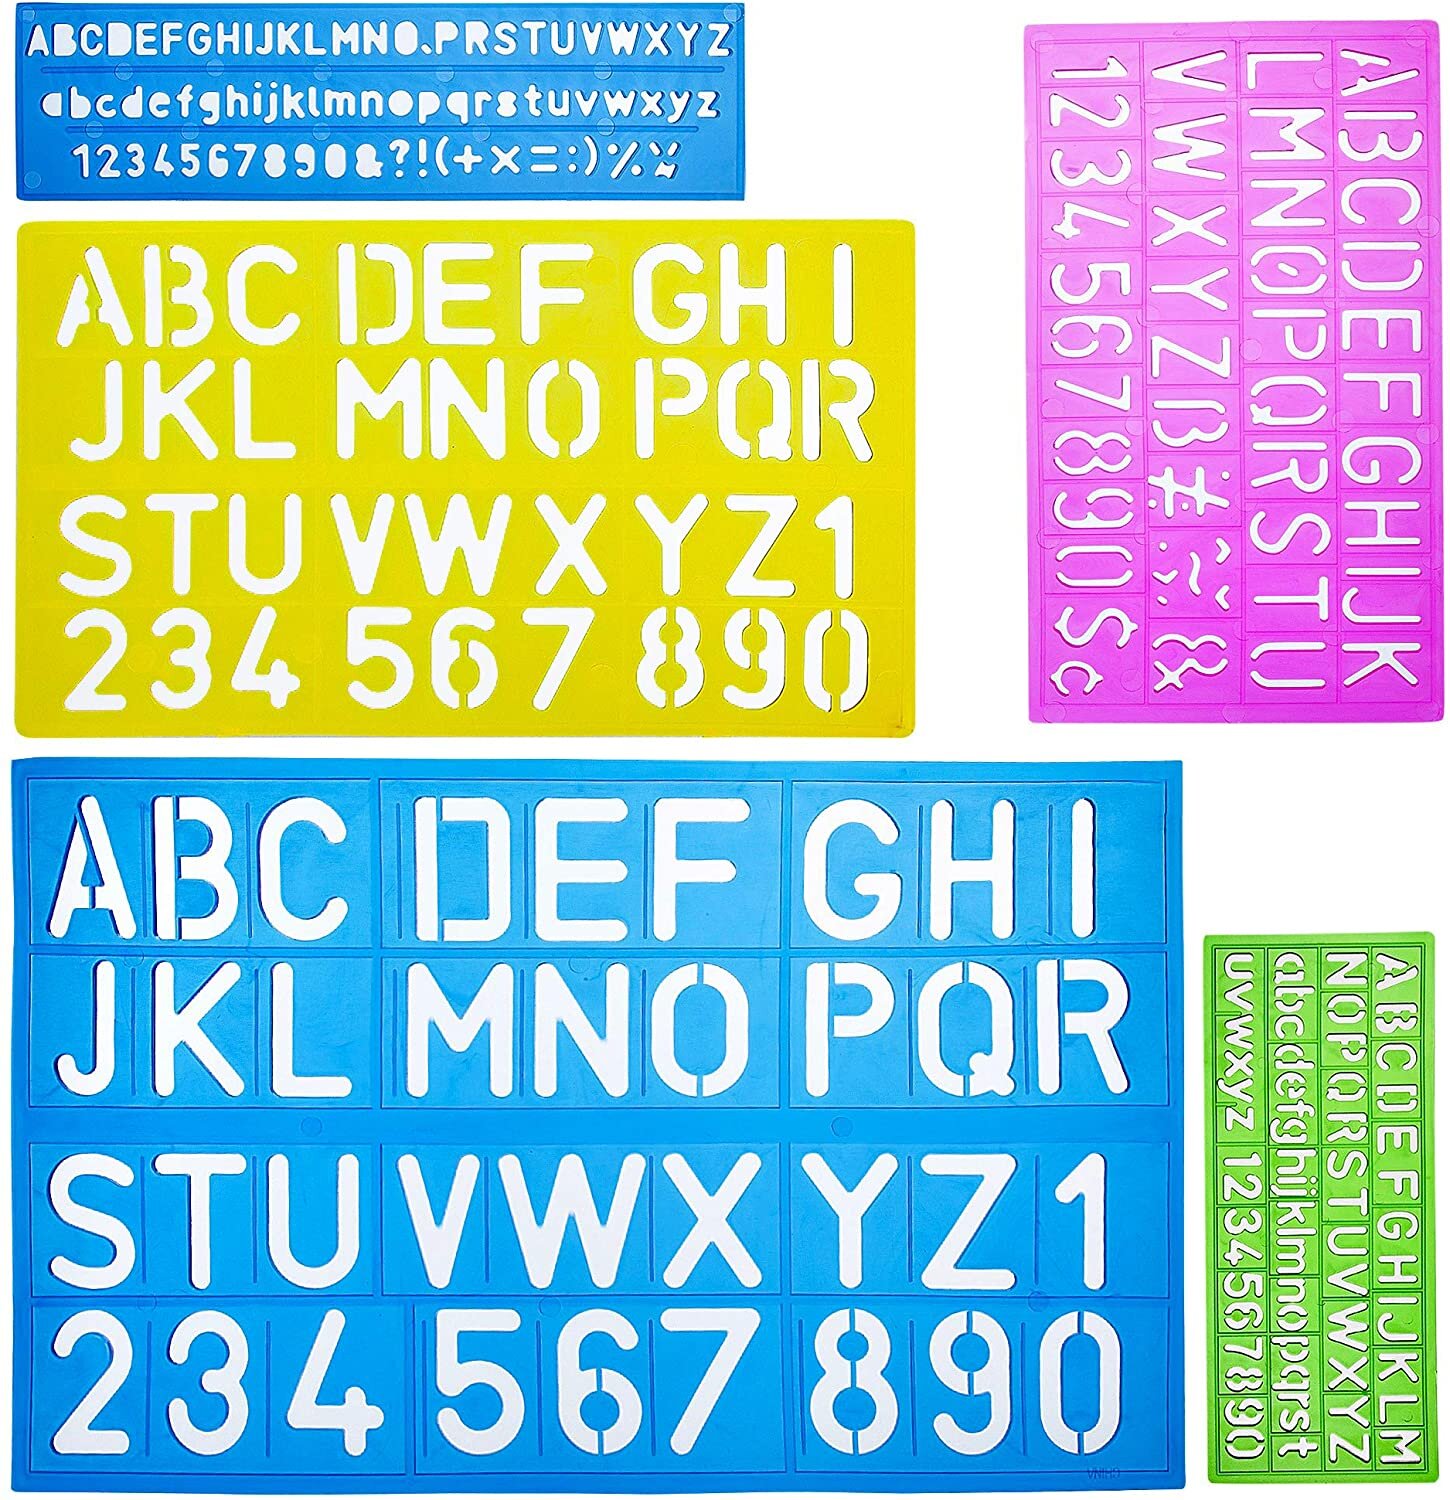
Stencils
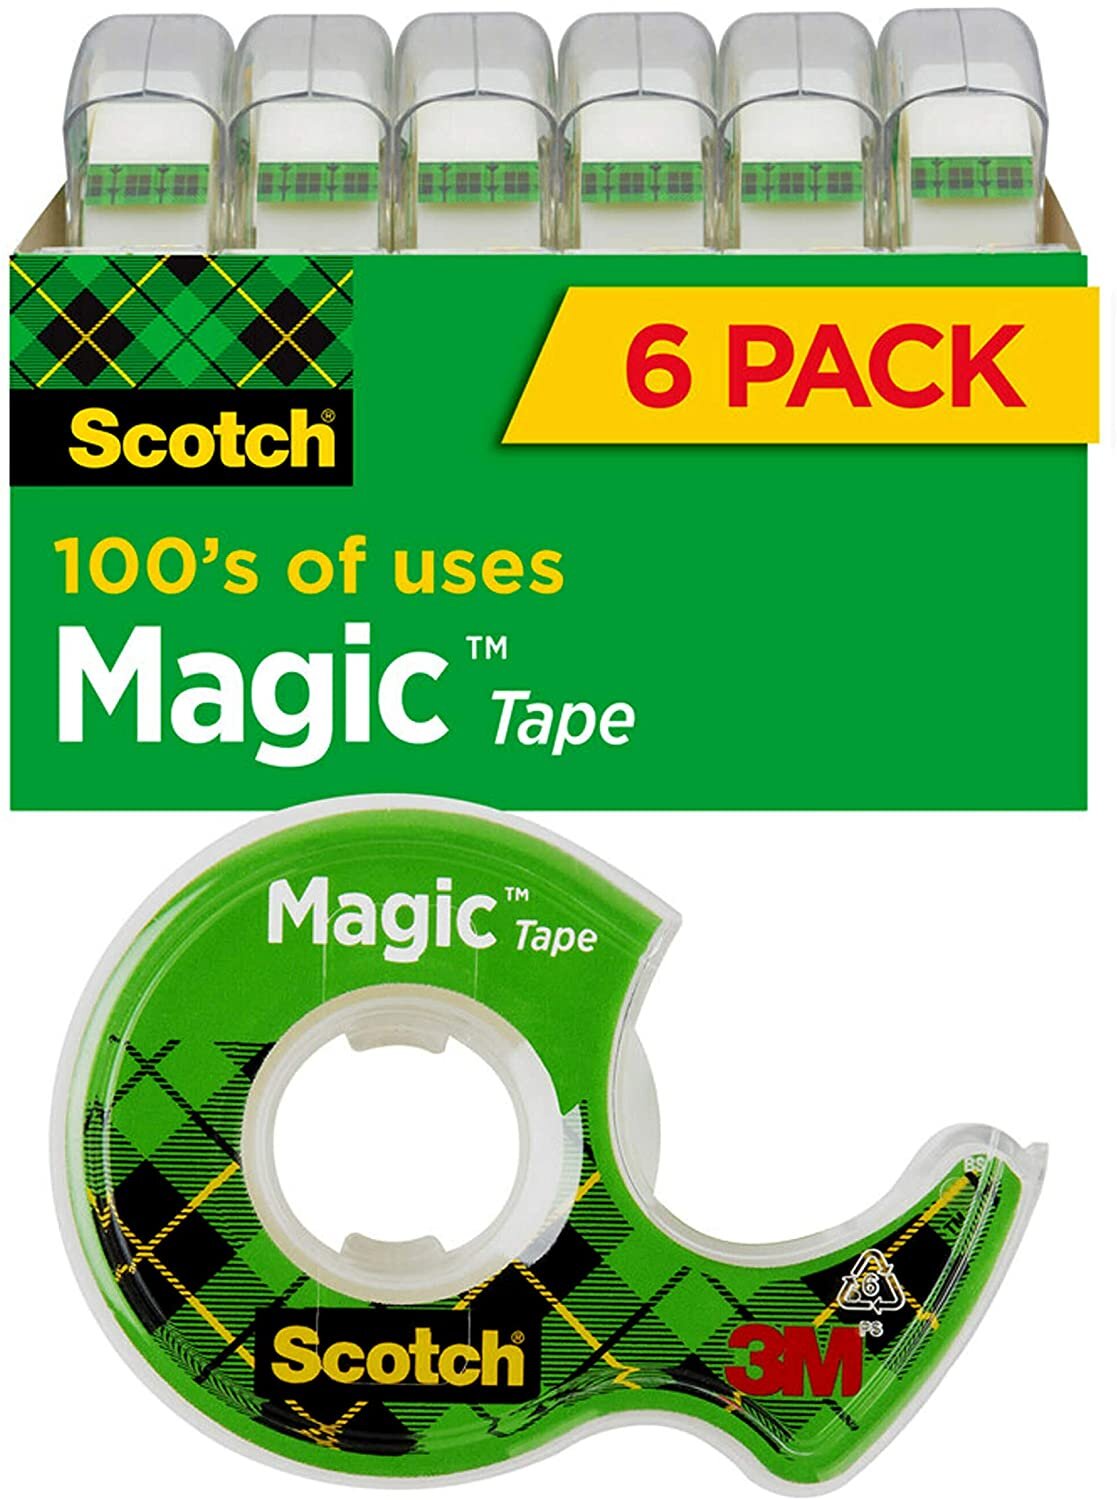
Tape and/or spray adhesive (for stencils)

DIRECTIONS :
Step 1:
Start by cleaning off your mugs with wiping a little alcohol on the surface of where you will be painting/writing.
Step 2
Add tape or spray adhesive to your stencils and place them where you’d like them to go. My good friend Annemarie over at Taste Buds Shop took my vision to life and created a really fun DAD stencil. I had searched high and low for a fun and modern stencil that wouldn’t be “too much” or “too crazy” and she was the perfect person for the job! We found that taping the stencil didn’t work as well as using a spray adhesive because the paint markers bled really easily and made for a more messy stencil look. Don’t you worry though, you can clean off any of your mistakes SO easy!
Step 3
Begin your designs! Have fun with this. I ended up choosing an oil based paint marker for 4 reasons:
Ceramic/Enamel paint is pretty pricy and I wanted a lot of colors to choose from for options in the designs.
They are dishwasher and food safe…(after you cook them/bake them after you design it)
Durable
Easy
Step 4
Once your done with your design you must let it sit for 24 hours before you throw them in the ovens. I’m not 100% sure on the reasons for this other than I’ve been told it give your paint more time to set in so it lasts longer? Just do it….it didn’t hurt so I went with it. Make sure you clean off any of your mistakes you want to before letting it set.
Mistakes:
Dry erase markers actually take off the paint so it’s an easy fix. I didn’t love this suggestion as much and actually ended up using alcohol more. (Maybe I just had more mistakes…after all, I was working with 7-5 year old’s here people! ;))
Q-Tips dipped in alcohol was the BEST solution and super easy. 100% recommend this route. For any age.
Step 5
Time to bake! After your 24 hours are up put your mugs onto a cookie sheet and set inside the oven. Set your oven to 400 degrees and close the door, but open your back door or windows…it gets a bit smelly. Totally normal though.. Hang with me on this one.
You want your mugs to pre-heat with your oven. This allows your mugs to change temperature at a more slow pace instead of it just going straight into a hot oven. It will prevent cracking.
Once your oven is pre-heated, set a 30 timer.
After the timer is done, turn off your ovens and allow the mugs to cool inside the oven as the oven cools its self down. Crack prevention again.
Step 6
Take your mugs out of the oven! They are done.
Step 7
The kitchen got a tiny bit smelly but mine wasn’t too bad. It’s just the paint baking. Normal process. Light a candle, grab a Diet Coke and pop on a quick 30 minute show…you’ve earned it.
Step 8
Wrap, deliver, enjoy!


Shop this post!

*Disclosure: The Loveliest Detail only recommends products we would use ourselves and all opinions expressed here are our own. This post may contain affiliate links that, at no additional cost to you, we may earn a small commission